Topics Covered in This Photoshop Tutorial:
How to Remove a Moiré Pattern
Scanning Methods Comparison
| Feature | Descreening Software | Manual Photoshop Method |
|---|---|---|
| Availability | Scanner-dependent | Always available |
| Effectiveness | Often unrewarding | Consistently effective |
| Control | Limited options | Full parameter control |
| Cost | May require upgrade | Uses existing Photoshop |
Optimal Scanning Parameters
Exercise Preview
Depending on your display quality and print settings, the moiré pattern in this scan may not be immediately visible. This is common across different output devices. For the most accurate assessment of moiré artifacts, always evaluate your images on-screen at 100% magnification—this gives you the clearest view of what needs correction.
Always view images at 100% zoom on-screen to properly assess moiré patterns. Print quality and personal printers may not accurately display the pattern that exists in the digital file.
Core Moiré Removal Process
Scan at Unusual Resolution
Use 718 ppi instead of standard 300 ppi to offset halftone screen interference patterns
Apply Median Filter
Use 2-pixel radius to blend adjacent pixels and equalize halftone variations
Downsample Image
Reduce to desired resolution (300 ppi for print) to discard aberrant pixels
Apply Unsharp Mask
Restore sharpness with 50% amount, 3px radius, 5px threshold settings
Exercise Overview
Moiré patterns are among the most persistent challenges in digital imaging, particularly when scanning printed photographs. These unwanted interference patterns occur when the regular dot matrix of halftone screens—essential for commercial printing—conflicts with your scanner's sensor grid. The result is an unsightly mesh or wave-like pattern that can destroy an otherwise pristine restoration project.
Many professionals first turn to their scanner software's built-in descreening options. While these automated solutions can provide quick results, they often fall short of professional standards. The algorithms typically apply broad corrections that may sacrifice image detail or fail to address complex pattern variations. For critical work, manual post-processing techniques deliver superior control and results.
The technique outlined below has proven effective across thousands of professional restoration projects. The strategy involves three coordinated steps: strategic oversampling during scanning, controlled pixel averaging to break up the pattern, and intelligent downsampling combined with selective sharpening. First, scan your image at an unconventional resolution—such as 718 ppi instead of the standard 300 ppi. This irregular sampling rate disrupts the mathematical relationship between the halftone dots and your sensor array. Next, apply Photoshop's Median filter, located under Filter > Noise, using a 2-pixel radius. This filter evaluates each pixel against its neighbors and replaces it with the median value, effectively smoothing out the regular variations created by halftone dots without the harsh averaging that traditional blur filters produce.
The magic happens in the final resampling phase. When you reduce the image to your target resolution—typically 300 ppi for high-quality print work—Photoshop's interpolation algorithms naturally discard many of the remaining pattern artifacts while preserving essential image detail. This creates a foundation for the final sharpening step.
Complete the process with careful application of the Unsharp Mask filter. Start with conservative settings: 50% Amount, 3-pixel Radius, and 5-pixel Threshold. These parameters restore the image's natural sharpness without reintroducing unwanted artifacts. Remember that Unsharp Mask works by enhancing edge contrast—the Threshold setting prevents it from amplifying noise in smooth areas, while the Radius controls how far the sharpening effect extends from detected edges.
NOTE: For this exercise, we've prepared a file scanned at 359 ppi that we'll reduce to 150 ppi—suitable for newsprint applications. In professional practice, scanning at 718 ppi and reducing to 300 ppi delivers optimal results for high-quality commercial printing.
Let's apply this proven workflow to a real-world example:
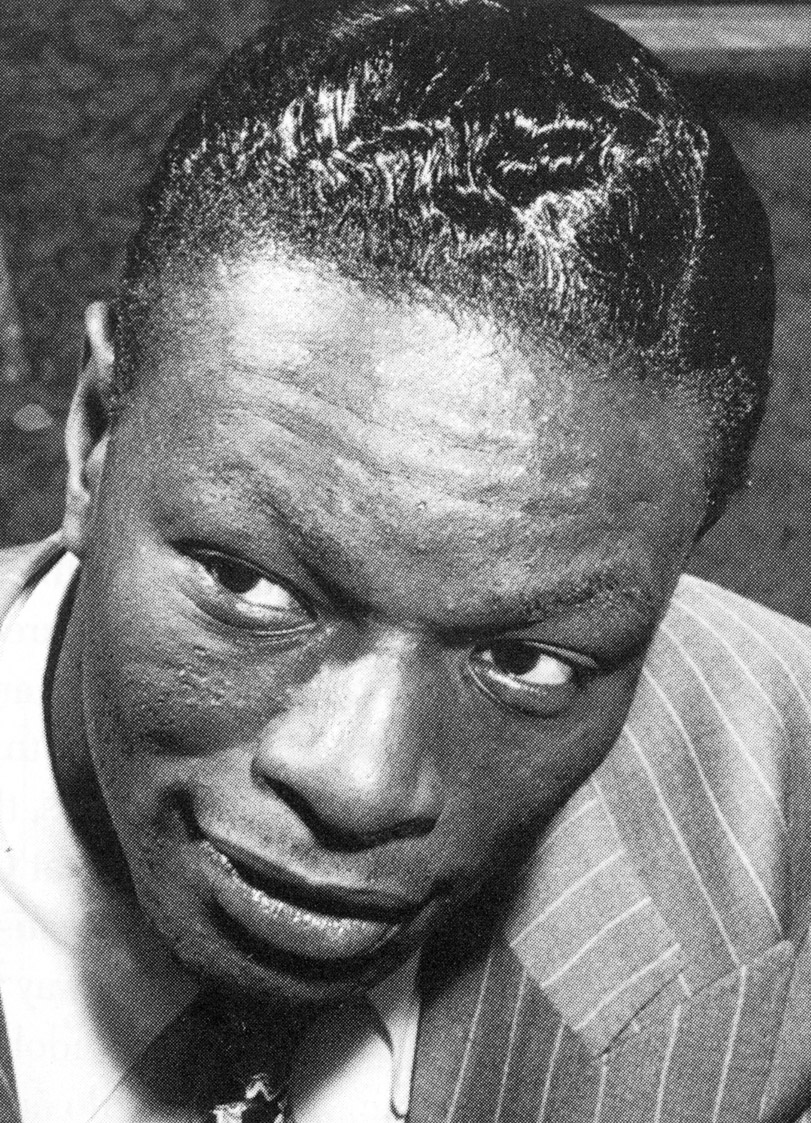
From the Photoshop Class folder, open Nat Cole.tif.
Navigate to View > 100% to examine the source material. At 359 ppi, you'll notice pronounced halftone dot patterns throughout the image—exactly what we need to eliminate.
Begin the correction process by going to Filter > Noise > Median.
Set the radius to 2 pixels and click OK. Watch how the filter smooths the dot patterns while preserving overall image structure.
Now reduce the image dimensions by going to Image > Image Size and changing the resolution to 150 Pixels/Inch (ppi).
Click OK to apply the resize operation.
Restore image sharpness by navigating to Filter > Sharpen and selecting Unsharp Mask. Apply these carefully calibrated settings:
Amount: 50% Radius: 3 px Threshold: 5 Click OK to complete the sharpening process.
Preserve your work by saving the file as yourname-Nat Cole.tif.
Evaluate your results by opening the original file and comparing both versions side-by-side using Window > Arrange > 2-up Vertical. Ensure both images are displayed at 100% magnification for accurate comparison. The processed image should exhibit natural, organic texture characteristics instead of the mechanical dot patterns present in the original scan.
Median Filter Effects
Photoshop Filter Locations
Median Filter
Found under Filter menu, then Noise submenu. This filter equalizes adjacent pixels by blending their values together.
Unsharp Mask
Located in Filter menu under Sharpen submenu. Essential for restoring detail after median filtering smoothing.
Resolution Workflow Example
Exercise Execution Steps
Starting file for hands-on practice
Essential for accurate moiré pattern assessment
Smooths halftone screen interference
Resampling eliminates remaining artifacts
Restores sharpness with specified settings
Preserve original file for comparison
Use 2-up Vertical arrangement at 100% zoom