 Getting the Project Files
- Download the project files.
- After the download completes, extract the ZIP file if your system hasn't done so automatically. You'll find a Premiere Pro Ghost Frame Effects folder containing all necessary assets for this tutorial.
Overview
This ghost frame effect creates a haunting, ethereal visual by layering displaced footage with carefully crafted blur and color treatments. We'll start by duplicating our base footage layer, then apply three strategic effects in sequence. First, Posterize Time creates the signature frame displacement that gives this effect its ghostly character. Next, Channel Blur introduces selective motion blur and color separation for added depth. Finally, a 4 Color Gradient unifies the color palette with a professional finish. Each step builds upon the previous one, so precision in your settings will determine the quality of your final result.
Ghost Frame Effect Workflow
Duplicate Base Layer
Create a copy of your footage on track V2 to apply effects without affecting the original layer
Apply Posterize Time
Reduce frame rate to create the stuttering displacement effect that forms the ghost frame foundation
Add Channel Blur
Introduce motion and color blur to enhance the ghosting effect with smooth transitions
Finish with Gradient
Apply 4 Color Gradient to unify colors and create a cohesive, professional look
Posterize Time
- Select the Selection tool from your toolbar.
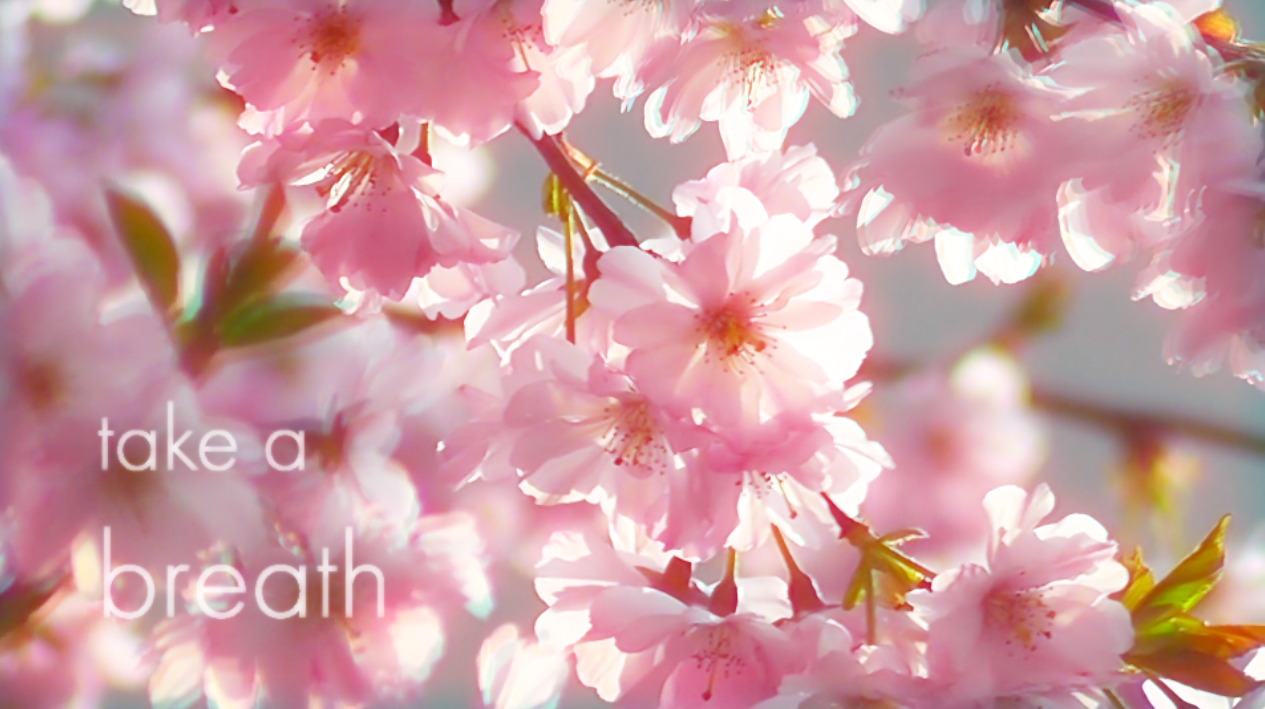
- Click and hold the flowers footage labeled Nature in your timeline. Maintain your grip throughout the next step.
- Press and hold the ALT key (Windows) or Option key (Mac) while continuing to hold the footage.
- With the modifier key engaged, drag the footage to track V2 directly above your original layer. This creates a duplicate layer that we'll transform into the ghost effect.
- Navigate to the Effects panel in your workspace.

- Search for Posterize Time in the effects library.
- Drag the effect onto your duplicated footage on track V2.
- Select the V2 clip to access its properties.
- Open the Effect Controls panel, typically located in the top-left workspace area.
- Locate the Posterize Time effect parameters.
- Set the frame rate to 8 fps. This dramatic reduction from the standard 24fps creates the signature "stuttering" displacement that forms the foundation of our ghost effect.
- In the same Effect Controls panel, find the Opacity section.
- Change the Blend Mode from Normal to Screen. This allows the underlying footage to show through while maintaining the ghostly overlay.
- Press Spacebar to preview your progress. You'll notice the characteristic transparent echo effect beginning to take shape.
Key Posterize Time Settings
Frame Rate Reduction
Setting frame rate to 8 fps creates the signature stuttering effect. This is dramatically lower than the standard 24 fps, creating visible frame jumps.
Screen Blend Mode
Using Screen blend mode makes the duplicated footage appear as a transparent echo. This creates the foundational ghosting effect over the original layer.
The ALT+drag technique for duplicating footage is faster than copy-paste and maintains perfect alignment between your original and ghost layers.
Channel Blur
Now we'll add selective color channel blurring to create the distinctive color separation and motion trail that elevates this effect from simple frame displacement to professional-grade visual treatment.
- Return to the Effects panel and search for Channel Blur.
- Apply the effect to your V2 footage by dragging and dropping.
- In the Effect Controls panel, scroll to the newly added Channel Blur parameters.
- Increase Red Blurriness to 100. This selective red channel blur creates color separation that adds visual complexity and depth.
- Enable Repeat Edge Pixels to prevent unwanted edge artifacts during the blur process.
- Preview your work with Spacebar. The colored motion blur should now complement the frame displacement, creating a more sophisticated ghostly trail.
Channel Blur Settings Breakdown
Always check 'Repeat Edge Pixels' when using Channel Blur to prevent unwanted edge artifacts and maintain clean borders in your ghost effect.
Gradient Effect
The final touch involves applying a subtle color gradient that unifies the effect and adds a polished, cinematic quality to your ghost frames.
- Access the Effects panel once more.
- Search for and locate 4 Color Gradient.
- Apply this effect to your V2 footage layer.
- Navigate to the gradient parameters in your Effect Controls panel.
- Click the color swatch for Color 1.

- In the color picker's hex field, enter EBED81 for a warm, ethereal yellow tone.
- Confirm with OK.
- Select the Color 2 swatch.
- Enter hex code A657EE to introduce a complementary purple that creates visual depth and intrigue.
Your ghost frame effect is now complete, featuring professional-grade color treatment and motion characteristics.
Color Configuration
Color 1: EBED81
This warm, light yellow tone adds brightness and creates contrast. The hex code EBED81 provides a subtle golden highlight to the ghost frames.
Color 2: A657EE
This purple tone adds depth and mystery to the effect. The hex code A657EE creates an ethereal, otherworldly appearance in the gradient blend.
Conclusion
This three-effect combination demonstrates how strategic layering can transform ordinary footage into compelling visual content. The interplay between Posterize Time's frame displacement, Channel Blur's selective color treatment, and the 4 Color Gradient's unifying wash creates a sophisticated effect suitable for music videos, title sequences, or dramatic transitions.
Consider experimenting with different parameters to match your project's aesthetic. Adjust the Posterize Time frame rate between 6-12 fps for varying degrees of displacement. Try blurring different color channels in Channel Blur, or omit the gradient entirely for a more organic look. The beauty of this technique lies in its flexibility—each adjustment can dramatically alter the final mood and impact.
As motion graphics continue evolving in 2026's content landscape, mastering these foundational techniques positions you to create distinctive visual content that stands out in an increasingly saturated market.
Ghost Frame Effect Analysis
Customization Options
Try 4fps for more dramatic stuttering or 12fps for subtler effects
Blur green or blue channels instead of red for varied color separation
Sometimes the color overlay may be too stylized for certain projects
Reduce opacity below 100% to make ghost frames less prominent
Learn Motion Graphics
Ready to advance your career in motion graphics and video editing? Our comprehensive training programs in New York City combine hands-on instruction with real-world project experience. Our industry-veteran instructors bring current techniques and professional workflows directly from leading studios and agencies. Choose from flexible in-person sessions at our Manhattan location or live online instruction that maintains the same interactive, personalized approach.