Topics Covered in This Photoshop Tutorial:
The Unsharp Mask Adjustment, the Threshold Adjustment, the Bitmap Color Mode, Grayscale Vs. Bitmap
Tutorial Preparation Checklist
Sample image scanned as grayscale at 600 ppi resolution
Provides most accurate screen representation of image quality
Minimum 800 ppi scan resolution for professional 1200 dpi output
Exercise Preview
Line Art Preparation Workflow
Initial Setup
Open grayscale scanned image and set 100% view
Enhancement Phase
Apply Unsharp Mask filter and Threshold adjustments
Mode Conversion
Convert from grayscale to bitmap using 50% threshold method
Cleanup Process
Remove dirt and specks using Despeckle filter or manual tools
Exercise Overview
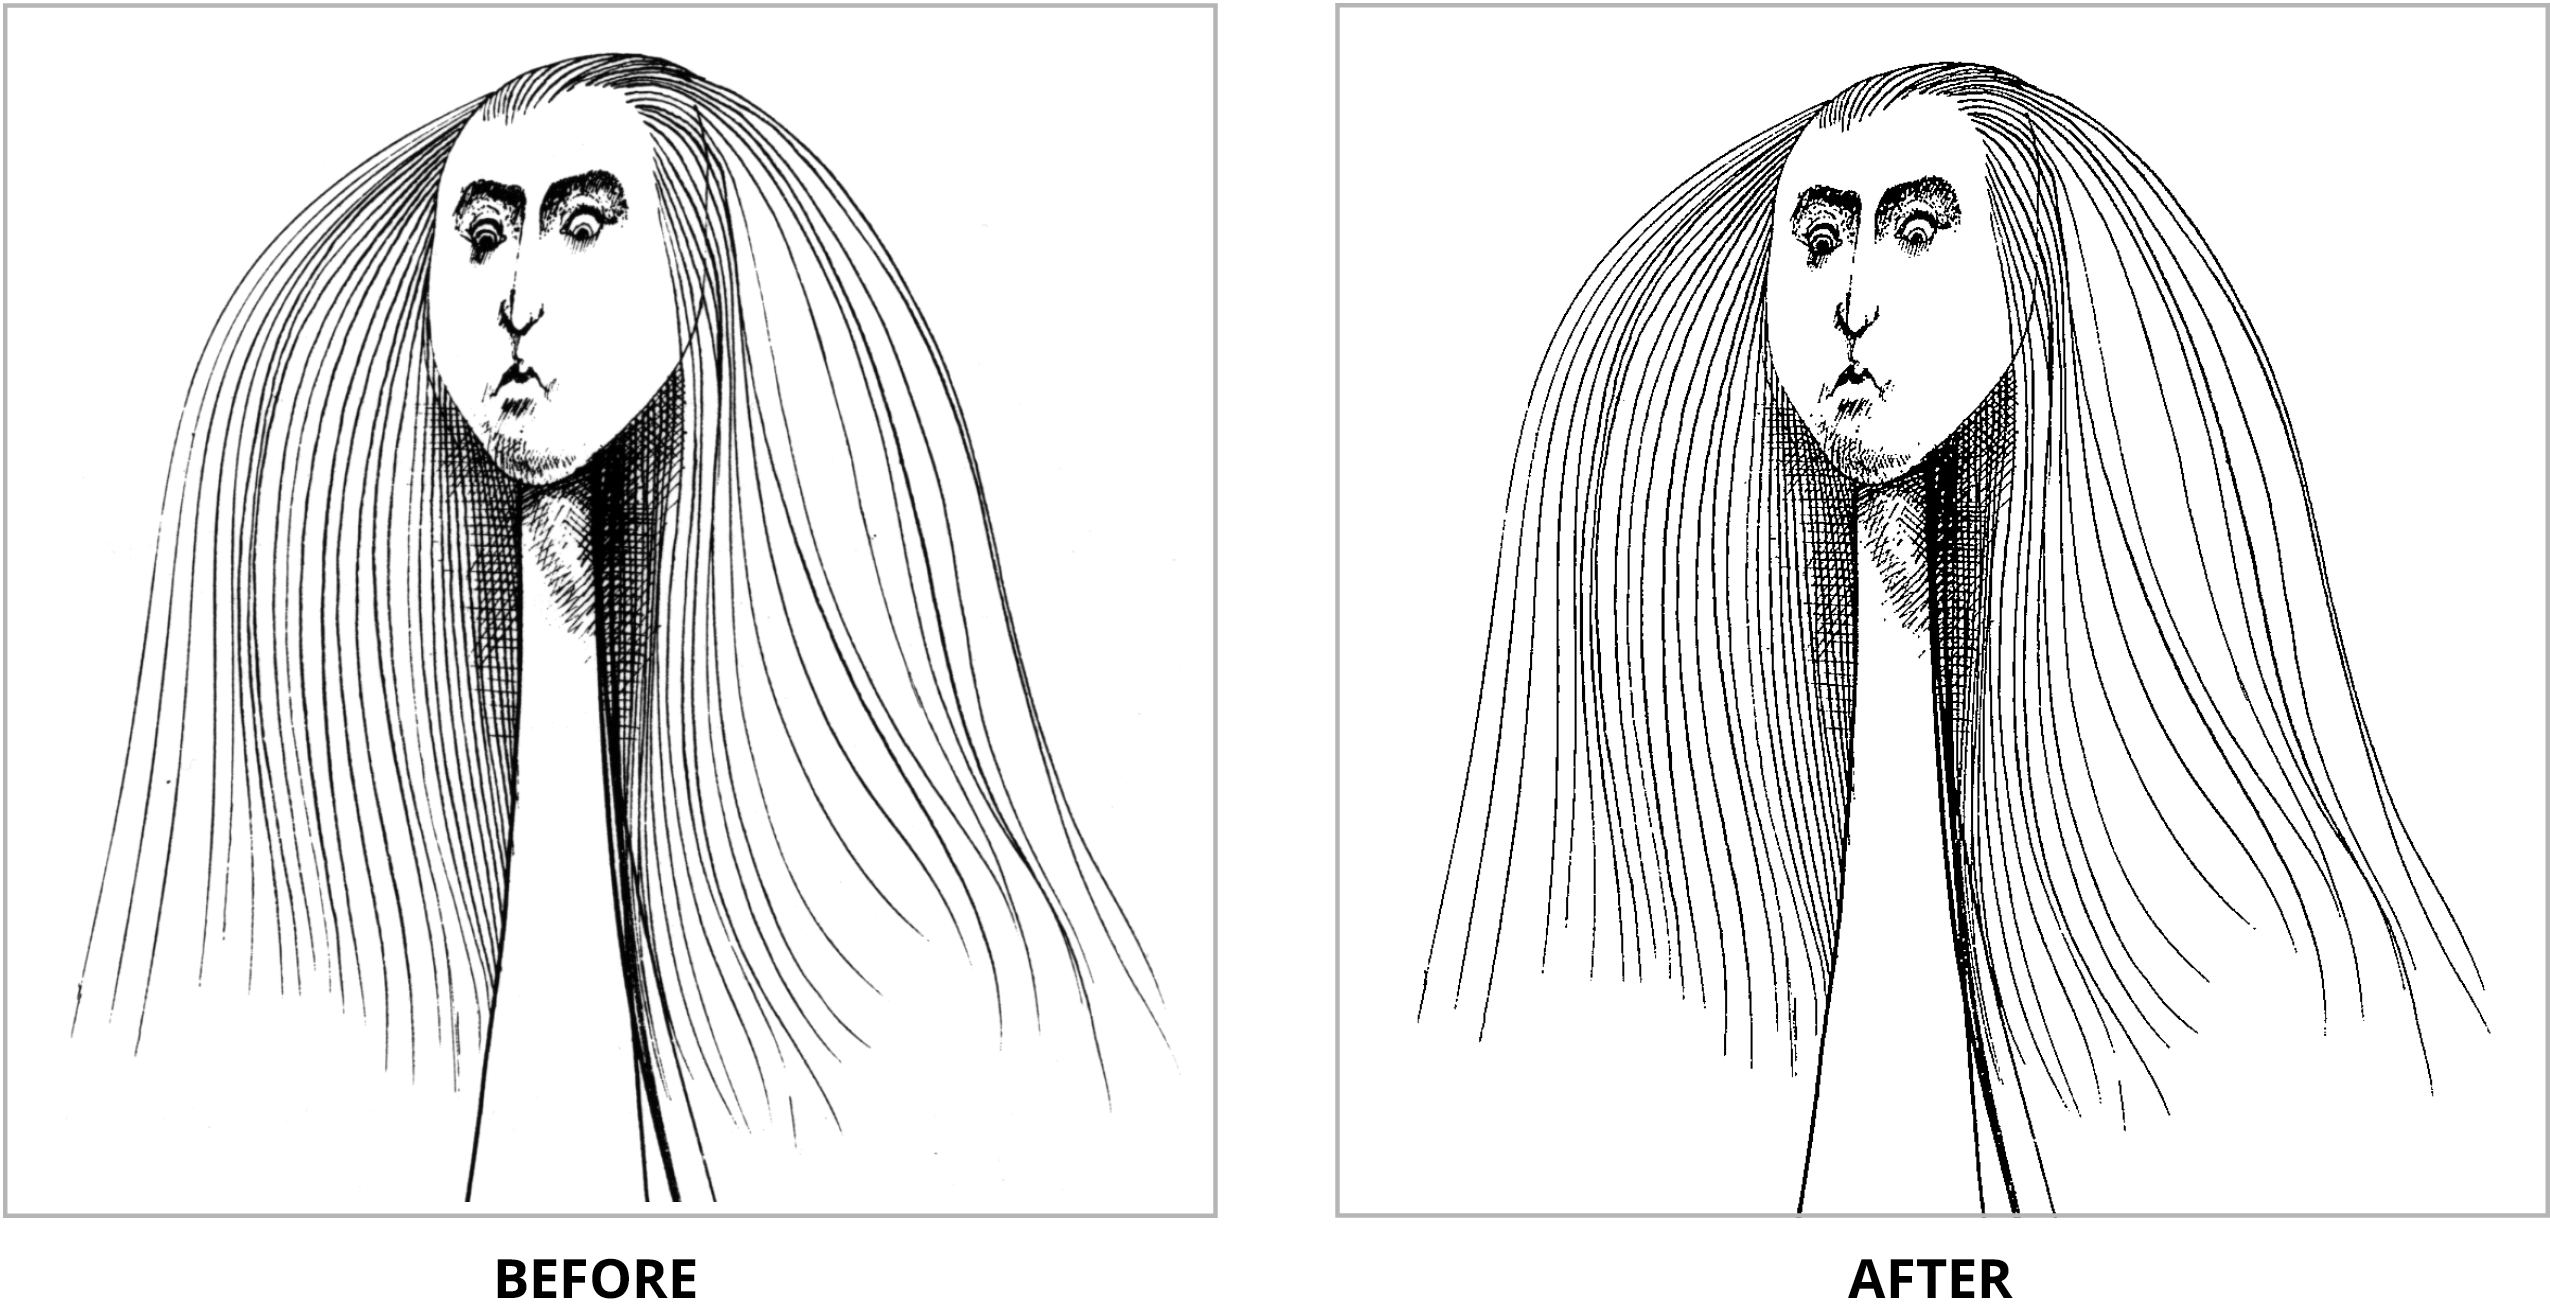
In this exercise, you'll master the art of preparing line art for professional print production—a critical skill that separates amateur work from publication-ready graphics. When scanning detailed line art, the strategic approach is to capture it in grayscale mode at the highest resolution your scanner allows. Aim for 800 ppi minimum to ensure clean output up to 1200 dpi, though 1200 ppi scanning yields superior results for demanding print applications. This workflow remains essential in 2026's hybrid digital-print landscape, where crisp line art commands premium rates across publishing, packaging, and commercial design markets.
From the Photoshop Class folder, open the image Alice.tif.
NOTE: This image was scanned as grayscale at 600 ppi—sufficient for most commercial applications but representing the minimum threshold for professional work.
Navigate to View > 100% to achieve the most accurate screen representation of your artwork. This viewing scale eliminates interpolation artifacts that can mislead your adjustment decisions.
Grayscale vs Bitmap Color Modes
| Feature | Grayscale Mode | Bitmap Mode |
|---|---|---|
| Color Information | 256 levels of gray | Pure black and white only |
| File Size | Larger file size | Minimal storage space |
| Print Output | Uses halftone dots | Sharp, defined edges |
| Filter Compatibility | All filters available | Limited filter support |
Making Adjustments in the Grayscale Color Mode
Before converting to bitmap, we'll enhance the grayscale image using Photoshop's precision tools. This two-stage approach—optimize in grayscale, then convert—produces superior results compared to direct bitmap conversion.
The Unsharp Mask filter strategically increases contrast between adjacent pixels, effectively sharpening edges while maintaining line integrity. Despite its counterintuitive name, this filter remains the gold standard for pre-print sharpening. Access Filter > Sharpen > Unsharp Mask and input these optimized values:
Amount: 500% Radius: 1 px Threshold: 5 These aggressive settings work specifically for line art—never apply such extreme sharpening to photographic content.
Click OK to apply the initial sharpening pass.
Reapply the identical filter by pressing CTRL–Cmd–F (Mac) or CTRL–ALT–F (Windows). This double-pass technique intensifies edge definition without the artifacts of extreme single-pass settings. Evaluate the result critically—if fine details appear compromised or "crunchy," undo this second application.
Now access Image > Adjustments > Threshold to begin the conversion to pure black-and-white values.
- Manipulate the slider methodically while monitoring the preview. The sweet spot typically falls around 128, but let your eye guide the final decision. You're balancing line weight preservation against detail retention—a judgment call that improves with experience.
- Click OK to commit the threshold adjustment.
The final conversion step transforms your image from grayscale to true line art. Since every pixel now registers as pure black or white, switching to Bitmap color mode dramatically reduces file size while maintaining identical visual information. Navigate to Image > Mode > Bitmap.
Maintain the Output resolution at 600, but verify that Method shows Use: 50% Threshold. This setting preserves your carefully crafted black-white relationships without introducing dithering patterns. Click OK to complete the conversion.
Unsharp Mask Application Process
Access Filter Menu
Navigate to Filter > Sharpen > Unsharp Mask to open the sharpening dialog
Configure Settings
Set Amount to 500%, Radius to 1 px, and Threshold to 5 for optimal line art enhancement
Apply and Evaluate
Click OK, then reapply using CTRL-Cmd-F (Mac) or CTRL-ALT-F (Windows) if desired
Threshold Adjustment
Use Image > Adjustments > Threshold with slider at 128 to create pure black and white pixels
A threshold value of 128 typically works well for most line art, but adjust the slider while previewing to find the best balance for your specific image.
The Despeckle Filter
Real-world scanning inevitably introduces digital noise—those tiny specks and artifacts that plague even professional-grade equipment. Here's how to address this challenge systematically.
Examine your converted image closely. While the line work should appear crisp and well-defined, you'll likely notice scattered digital debris throughout the image.
You can address this manually using the Eraser tool
 —tedious but offering complete control—or employ Filter > Noise > Despeckle for automated cleanup. However, Bitmap mode restricts filter access, and Despeckle can occasionally sacrifice fine detail for cleanliness. Each illustration responds differently to this filter, so approach it as a powerful tool requiring careful evaluation rather than a universal solution.
First, we must exit Bitmap Mode to access filtering capabilities. Revert to the original file state via File > Revert, returning to your unprocessed grayscale starting point.
Apply the Despeckle filter as your opening move. Access it through Filter > Noise > Despeckle. Unlike many Photoshop filters, Despeckle operates with built-in intelligence rather than user-adjustable parameters—Adobe's algorithms analyze and remove noise automatically. Apply it immediately and observe the subtle but significant improvement in image cleanliness.
With despeckling complete, repeat the entire Making Adjustments in the Grayscale Color Mode workflow. You'll discover substantially less digital debris requiring manual cleanup with the Eraser tool
.The final bitmap result may appear less sophisticated than the original grayscale on-screen, but this apparent simplification serves a crucial purpose: eliminating halftone dot patterns from the printing process. Your line art will reproduce with razor-sharp edges and consistent ink density—the hallmark of professional illustration reproduction. Master this workflow, and you'll apply it confidently to any line art project demanding print-ready precision.
Using Despeckle Filter for Line Art Cleanup
Despeckle Implementation Workflow
File Reversion
Use File > Revert to return to original grayscale state before any modifications
Apply Despeckle
Access Filter > Noise > Despeckle with no additional settings required
Repeat Enhancement Process
Reapply Unsharp Mask and Threshold adjustments to the cleaned image
Final Cleanup
Use Eraser tool for any remaining artifacts that Despeckle couldn't remove
Remember that filters cannot be applied in Bitmap Mode. Always perform cleanup operations while in Grayscale Mode before final conversion.