Topics Covered in This JavaScript & jQuery Tutorial:
Setting up Data Attributes for Photo Categories, Creating an Array to Store the Filter Choices, Getting the All Button to Show All Filter Values, Getting the Rest of the Buttons to Select the Other Filters, Initially Hiding the Photos, Getting the Photos to Filter, Optional Bonus: Fixing a Usability Issue
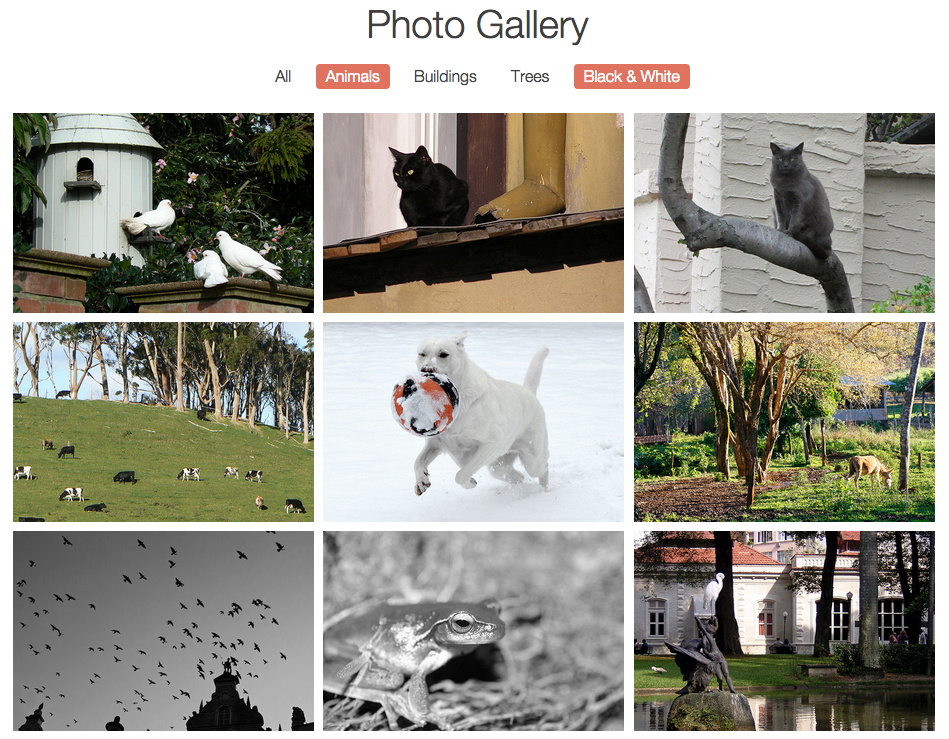
Exercise Preview
This tutorial builds on previous photo gallery work. Ensure you have the Photo-Site-Filter folder from the previous exercise and Chrome browser for DevTools testing.
Exercise Overview
In this exercise, we'll advance the functionality of our photo gallery website by implementing dynamic filtering capabilities. Building on the previous exercise where we programmed visual feedback for filter button selection, we'll now create the core logic that actually filters the displayed photos based on user interaction. This is a fundamental pattern you'll encounter frequently in modern web development—transforming visual interface elements into functional, interactive components that manipulate content in real-time.
Getting Started
Before diving into the JavaScript logic, let's ensure our development environment is properly configured for this more complex functionality.
Open your code editor if it isn't already open.
Close any files you may have open to maintain focus on this specific exercise.
For this exercise we'll be working with the Photo-Site-Filter folder located in Desktop > Class Files > yourname-JavaScript jQuery Class. You may want to open that folder in your code editor if it allows you to (like Visual Studio Code does).
Open index.html from the Photo-Site-Filter folder.
Preview index.html in Chrome (we'll be using its DevTools extensively for debugging and testing).
Click the links in the navigation at the top to see that they only provide visual feedback. When users click on one or more categories, we want the photos in the main area of the page to dynamically filter based on their selections—this is the core functionality we'll be implementing.
Leave the page open in Chrome so we can test our implementation in real-time as we build it.
Setup Process
Open Project Files
Navigate to Desktop > Class Files > yourname-JavaScript jQuery Class and open the Photo-Site-Filter folder in your code editor.
Preview in Browser
Open index.html in Chrome to test the current functionality and prepare for DevTools usage during development.
Test Current State
Click navigation links to confirm they only appear functional without actually filtering photos in the main gallery area.
Setting up Data Attributes for Photo Categories
Data attributes are the foundation of modern, semantic filtering systems. They allow us to embed machine-readable metadata directly into our HTML elements, creating a clean separation between content structure and JavaScript functionality. This approach is particularly valuable in content management systems and dynamic applications where categories might change frequently.
Go back to index.html in your code editor.
Let's examine how the images have been categorized in the markup. Starting around line 24, notice that each image is wrapped with a div tag containing one to four classes that assign it to various categories. These classes serve as our filtering criteria and demonstrate a scalable approach to content categorization that works well even as your gallery grows.
We'll add data attributes to the navigation items to store and access information about photo categories. This creates a robust connection between user interface elements and the content they control. Add the following bold code:
<ul> <li><a data-filter="all" id="all-button" data-selected="yes" href="JavaScript:;">All</a></li> <li><a data-filter="animals" data-selected="no" href="javascript:;">Animals</a></li> <li><a data-filter="buildings" data-selected="no" href="javascript:;">Buildings</a></li> <li><a data-filter="trees" data-selected="no" href="javascript:;">Trees</a></li> <li><a data-filter="bw" data-selected="no" href="javascript:;">Black & White</a></li> </ul>NOTE: The values we've added to the data-attributes here directly correspond to the classes assigned to the image containers, creating a systematic relationship between filters and content.
Filter Categories and Data Values
The data-filter values match the CSS classes assigned to image containers, creating a direct relationship between navigation and content filtering.
Creating an Array to Store the Filter Choices
Professional JavaScript development requires breaking complex functionality into manageable, testable components. The filtering system we're building demonstrates this principle perfectly—we'll create modular functions that each handle a specific aspect of the filtering process. This approach not only makes debugging easier but also creates reusable code patterns you can apply to other projects.
Our first component captures user filter choices and stores them in an array, which serves as the single source of truth for determining which photos to display. This pattern—maintaining application state in a centralized data structure—is fundamental to modern JavaScript frameworks like React and Vue.
Switch back to your code editor.
In the active code section that starts around line 174, near the end of the for loop, add the following bold code to call the populateArray() function we'll implement next:
// active code
for(var i = 0; i < filterNav.length; i++) {
   filterNav[i].onclick = function() {
      toggleCategory(this);
      populateArray();
   }
}
In the grabbing elements section that starts around line 150, declare an empty array that will be populated dynamically as users make filter selections:
// grabbing elements
var filterNav = document.querySelectorAll('nav a');
var allButton = document.getElementById('all-button');
var selectedArray = [];
Now let's create the function that will manage our array state. At the end of the functions section, add the following structure (around line 175):
function populateArray() {

}

// active code
To prevent duplicate entries when users change their selections, we need to reset the array on each function call. This ensures our state remains clean and predictable:
function populateArray() {
   selectedArray = [];
}
Array Implementation Strategy
Function Call Setup
Add populateArray() function call to the existing click event handlers in the for loop around line 174.
Array Declaration
Declare empty selectedArray variable in the grabbing elements section to store user filter choices.
Array Reset Logic
Clear the array at the start of populateArray() function to prevent data duplication on subsequent clicks.
Getting the All Button to Show All Filter Values
The "All" button presents a unique challenge in filter logic: it doesn't correspond to a specific category class but should display all available categories. This requires special handling that demonstrates conditional logic patterns you'll use frequently in interactive applications.
Examine the navigation markup starting around line 15 to understand the data-filter structure:
Category Data-Filter Value All "all"Animals "animals"Buildings "buildings"Trees "trees"Black & White "bw"Notice that all data-filter values except
"all"directly match classes in the gallery markup. When users select "All," we need to programmatically include all other category values (animals, buildings, trees, and bw) in our filter array. For specific category selections, we only include the actively chosen filters.Around line 177, implement the conditional logic for handling both scenarios:
function populateArray() {
   selectedArray = [];
   if(allButton.getAttribute('data-selected') == 'yes') {
      // cycle through every data filter except for 'all'
   } else {
      // get only the active filter choices
   }
}
For the "All" scenario, we'll iterate through the filterNav array starting at index 1 to skip the "All" button itself:
if(allButton.getAttribute('data-selected') == 'yes') {
   // cycle through every data filter except for 'all'
   for(var i = 1; i < filterNav.length; i++) {

   }
} else {
   // get only the active filter choices
}
Extract each navigation item's data-filter value and add it to our selectedArray using the push() method:
if(allButton.getAttribute('data-selected') == 'yes') {
   // cycle through every data filter except for 'all'
   for(var i = 1; i < filterNav.length; i++) {
      selectedArray.push(filterNav[i].getAttribute('data-filter'));
   }
} else {
Add a console.log() statement to verify our array population is working correctly:
for(var i = 1; i < filterNav.length; i++) {
   selectedArray.push(filterNav[i].getAttribute('data-filter'));
}
   console.log(selectedArray);
} else {
Save the file and reload index.html in Chrome.
Open the Console using Cmd–Opt–J (Mac) or Ctrl–Shift–J (Windows).
Click the All button to deselect it, then click it again to select it.
The Console should display [
"animals","buildings","trees","bw"]. This confirms that all category values are being correctly captured and stored in our selectedArray.Keep the Console open for continued testing as we implement the remaining functionality.
All Button vs Specific Filter Logic
| Feature | All Button Selected | Specific Filters Selected |
|---|---|---|
| Array Population | Cycles through all categories | Only active selections |
| Loop Start Index | Starts at index 1 | Starts at index 1 |
| Selection Criteria | All non-'all' filters | data-selected='yes' only |
| Result Array | [animals, buildings, trees, bw] | User's active choices |
Getting the Rest of the Buttons to Select the Other Filters
Now we'll implement the logic for individual category selection, which requires checking each navigation item's selection state and only including active choices in our array.
Switch back to your code editor.
The else condition handles cases where users select specific categories instead of "All." We need to iterate through all filter options but only include those marked as selected.
In the else statement, implement the selective filtering logic (around line 185):
} else {
   // get only the active filter choices
   for(var i = 1; i < filterNav.length; i++) {
      if(filterNav[i].getAttribute('data-selected') == 'yes') {
         selectedArray.push(filterNav[i].getAttribute('data-filter'));
      }
   }
}
Move the console.log() statement outside the conditional blocks so it executes regardless of which path is taken (around line 190):
for(var i = 1; i < filterNav.length; i++) {
         selectedArray.push(filterNav[i].getAttribute('data-filter'));
      }
   } else {
      // get only the active filter choices
      for(var i = 1; i < filterNav.length; i++) {
         if(filterNav[i].getAttribute('data-selected') == 'yes') {
            selectedArray.push(filterNav[i].getAttribute('data-filter'));
         }
      }
   }
   console.log(selectedArray);
}
Save the file, reload index.html in Chrome, and ensure the Console is visible.
Click the Animals button. The Console should display: [
"animals"]Click the Buildings category to add it to the selection: [
"animals","buildings"]Click Animals again to deselect it. Only
"buildings"should remain. This confirms our array management is working correctly for both adding and removing selections.
Use Chrome DevTools Console (Cmd-Opt-J on Mac, Ctrl-Shift-J on Windows) to verify array population. Expected outputs: single categories show ['animals'] and multiple selections show ['animals', 'buildings'].
Initially Hiding the Photos
The next phase implements the visual filtering mechanism. We'll use a "hide-then-show" approach: first hiding all photos, then selectively displaying only those matching the current filter criteria. This technique ensures clean transitions and prevents visual artifacts that can occur with more complex show/hide logic.
Return to index.html in your code editor.
Remove the console.log() statement around line 190, as we no longer need it for testing.
Around line 192, create a utility function for hiding all images:
function hideAllPics() {

}

// active code
We need to capture all image containers for manipulation. Add this to your variable declarations (around line 154):
// grabbing elements
var filterNav = document.querySelectorAll('nav a');
var allButton = document.getElementById('all-button');
var selectedArray = [];
var imageContainers = document.querySelectorAll('.gallery div');
Implement the hiding functionality by setting display to 'none' for all containers (around line 194):
}

function hideAllPics() {
   for(var i = 0; i < imageContainers.length; i++) {
      imageContainers[i].style.display = 'none';
   }
}

// active code
Test the function by temporarily calling it in the active code section (around line 204):
// active code
for(var i = 0; i < filterNav.length; i++) {
   filterNav[i].onclick = function() {
      toggleCategory(this);
      populateArray();
      hideAllPics();
   }
}
Save the file.
Switch to Chrome and reload index.html.
Click any navigation button—all images should disappear, confirming our hiding mechanism works. Now we can implement the selective display functionality that will show only filtered content.
Photo Filtering Strategy
Hide All First
Set all image containers to display: none initially to create a clean slate for filtering operations.
Inline-Block Display
Use inline-block display property to maintain layout structure and prevent container collapsing issues.
Implementation Steps
Variable Declaration
Create imageContainers variable using querySelectorAll('.gallery div') to access all photo containers.
Hide Function
Write hideAllPics() function that loops through containers and sets display to 'none' for each element.
Test Functionality
Temporarily call hideAllPics() in click handlers to verify all images disappear when any button is clicked.
Getting the Photos to Filter
This is where our filtering system comes together. We'll create a function that combines the hiding mechanism with selective display logic, using our populated array to determine which photos should be visible.
Switch back to your code editor.
Remove the temporary hideAllPics(); call around line 204—we'll integrate this into our main filtering function.
Create the master filtering function around line 199:
function hideAllPics() {
   for(var i = 0; i < imageContainers.length; i++) {
      imageContainers[i].style.display = 'none';
   }
}

function filterPhotos() {
   hideAllPics();
}

// active code
Add logic to iterate through our selectedArray and process each filter category:
function filterPhotos() {
   hideAllPics();
   for(var i = 0; i < selectedArray.length; i++) {

   }
}
For each category in the array, query the DOM for elements with matching classes and store them in a group variable:
function filterPhotos() {
   var group;
   hideAllPics();
   for(var i = 0; i < selectedArray.length; i++) {
      group = document.querySelectorAll('.' + selectedArray[i]);
   }
}
Add an inner loop to display all elements in each selected group. Note the use of 'j' as the inner loop variable to avoid conflicts:
for(var i = 0; i < selectedArray.length; i++) {
   group = document.querySelectorAll('.' + selectedArray[i]);
   for(var j = 0; j < group.length; j++) {
      group[j].style.display = 'inline-block';
   }
}
NOTE: When nesting loops, always use different variable names for each level. The convention is to use i for the outer loop and j for the inner loop, though any descriptive names work.
Integrate the filtering function into our event handling system (around line 216):
// active code
for(var i = 0; i < filterNav.length; i++) {
   filterNav[i].onclick = function() {
      toggleCategory(this);
      populateArray();
      filterPhotos();
   }
}
Save the file.
Return to Chrome and reload index.html.
Test the Black & White filter—only black and white photos should display.
Click Animals to add it to the selection—both black & white photos and animal photos should now be visible.
Experiment with different filter combinations to verify the system works correctly.
The complete filtering process works as follows: when a user toggles a filter, the system updates the selected categories array, hides all photos, queries for elements matching each selected category, and displays those matching elements. This creates a smooth, predictable filtering experience.
Photo Filtering Process
Hide All Photos
Call hideAllPics() function to set all image containers to display: none as the starting point.
Loop Through Selected Array
Iterate through selectedArray to process each active filter category the user has chosen.
Query Selected Classes
Use document.querySelectorAll('.' + selectedArray[i]) to find all elements matching the current filter class.
Show Matching Photos
Set matching image containers to display: inline-block using nested loop with variable j to avoid conflicts.
When writing loops within loops, use different variables (i for outer loop, j for inner loop) to prevent variable conflicts and ensure proper functionality.
Optional Bonus: Fixing a Usability Issue
Professional applications require robust edge case handling. One common usability issue in filtering systems occurs when users deselect all categories, leaving them with an empty screen. We'll implement graceful fallback behavior that automatically shows all content when no specific filters are active.
Switch back to your code editor.
Create a function to handle the empty selection scenario around line 199:
function hideAllPics() {
   for(var i = 0; i < imageContainers.length; i++) {
      imageContainers[i].style.display = 'none';
   }
}

function noFilterSelection() {
   if(selectedArray == 0) {

   }
}
When no categories are selected, display all photos as a logical default state:
function noFilterSelection() {
   if(selectedArray == 0) {
      for(var i = 0; i < imageContainers.length; i++) {
         imageContainers[i].style.display = 'inline-block';
      }
   }
}
Integrate this fallback behavior into the main filtering function:
function filterPhotos() {
   hideAllPics();
   for(var i = 0; i < selectedArray.length; i++) {
      group = document.querySelectorAll('.' + selectedArray[i]);
      for(var j = 0; j < group.length; j++) {
        group[j].style.display = 'inline-block';
      }
    }
    noFilterSelection();
  }
Save the file.
Test in Chrome by deselecting all filters—all photos should remain visible, providing a better user experience.
For complete UX consistency, we should also update the visual interface to reflect this "show all" state. Return to your code editor.
Enhance the noFilterSelection() function to automatically select the "All" button when no specific filters are active:
function noFilterSelection() {
   if(selectedArray == 0) {
      for(var i = 0; i < imageContainers.length; i++) {
         imageContainers[i].style.display = 'inline-block';
      }
      allButt
Empty Array Handling
Usability Fix Implementation
Empty Array Detection
Create noFilterSelection() function that checks if selectedArray length equals 0 to detect when no filters are active.
Show All Photos
Loop through imageContainers and set display to inline-block when array is empty to show complete gallery.
Update All Button State
Set allButton data-selected attribute to 'yes' to provide visual feedback that all photos are now showing.