A UserForm in Excel is a powerful custom dialog box that allows users to input data through an intuitive interface, with the information then processed and stored by your program. While it requires some VBA coding knowledge (which we'll explore in greater detail in future articles), the fundamentals are straightforward and highly practical for business applications.
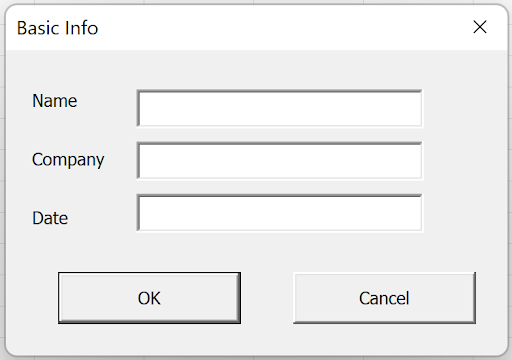
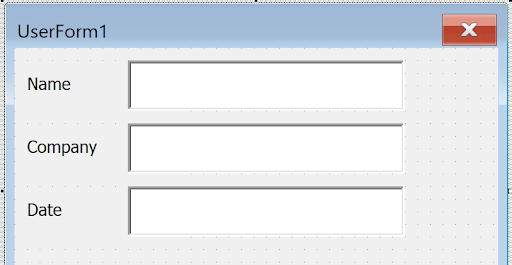
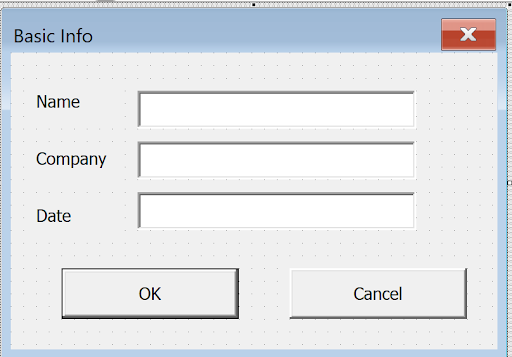
Let's build a simple yet functional form from the ground up. We'll walk through creating the interface, displaying it to users, and capturing the input values. Here's the professional-looking form we'll create:
Accessing the VBA Development Environment
First, you'll need to access Excel's VBA Editor, which serves as your development workspace. Press Alt+F11 to open the Visual Basic for Applications environment. You'll see the main development interface:
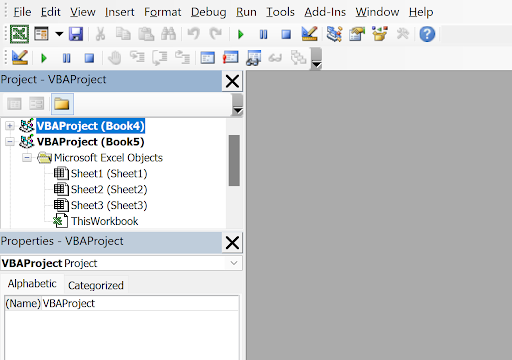
The central gray area is your primary workspace—this is where you'll design forms and write VBA code. The Project Explorer on the left shows your workbook's structure and components.
Creating Your First UserForm
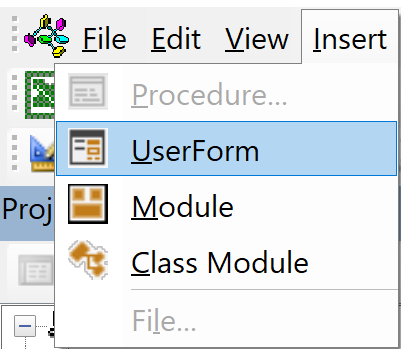
To create a new UserForm, navigate to Insert > UserForm from the menu bar:
Excel will present you with the UserForm design environment, complete with the essential development tools:

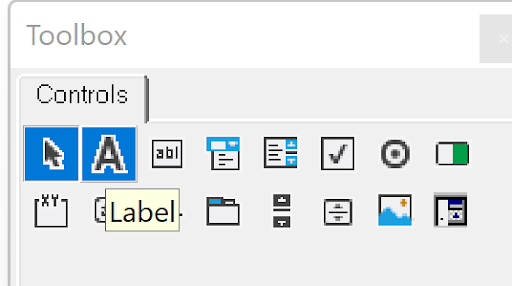
You'll notice three key components in this interface: the Toolbox on the right (containing all available controls), the blank UserForm in the center (your design canvas), and the Properties window below (for customizing selected elements). These tools work together to give you complete control over your form's functionality and appearance.
Understanding the Properties Window
The Properties window is your control center for customizing form elements. When you select the UserForm itself, you'll see its properties displayed:
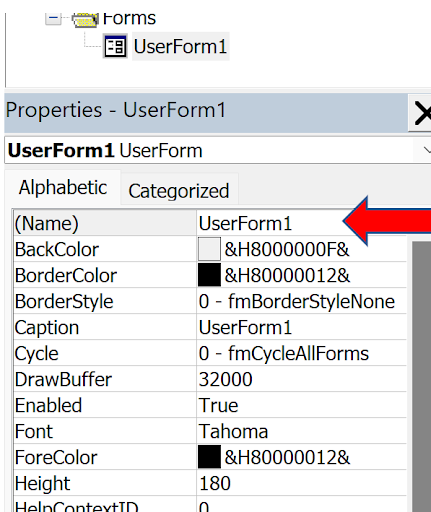
Notice the first property, "(Name)", which shows "UserForm1"—this is how your code will reference this form. The Properties window dynamically updates based on whatever element you've selected, making it easy to customize each component.
Adding Labels for Professional Layout
Professional forms start with clear, well-positioned labels. Click the "A" icon in the Toolbox to select the Label control:
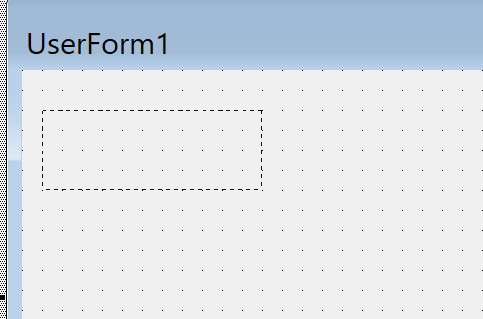
Now draw a rectangle on your form where you want the "Name" label to appear. Click and drag to create the appropriate size:
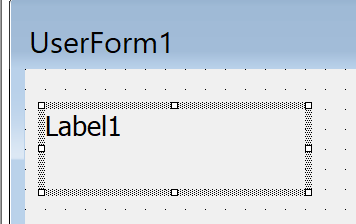
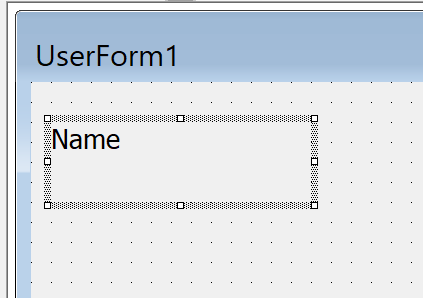
When you release the mouse button, you'll see the label control with selection handles, indicating it's ready for customization:
Customizing Label Properties
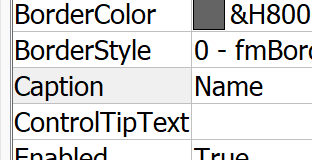
With the label selected, the Properties window displays its customizable attributes:
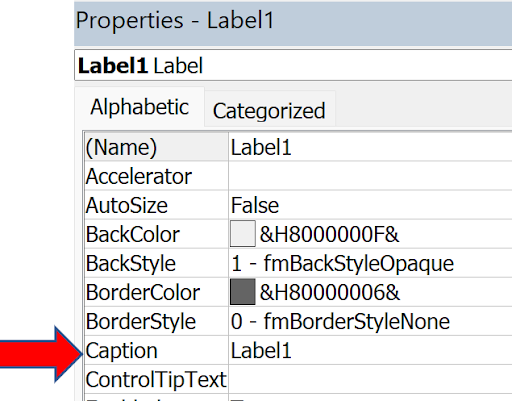
Click on "Caption" in the properties list and type "Name" (without quotes). This changes the display text while maintaining the control's internal reference name. The Properties window will update to reflect your change:
Your form now displays the professional-looking label:
Repeat this process to create "Company" and "Date" labels, building out your form's structure:
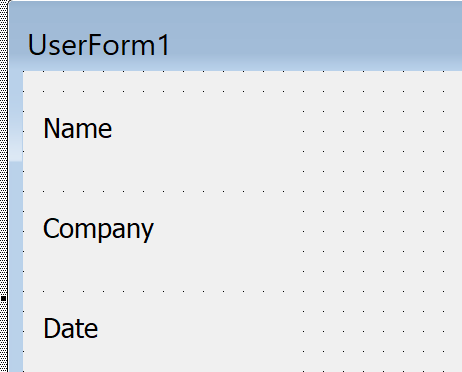
Don't worry about perfect alignment at this stage—we'll address positioning refinements as we progress through the design process.
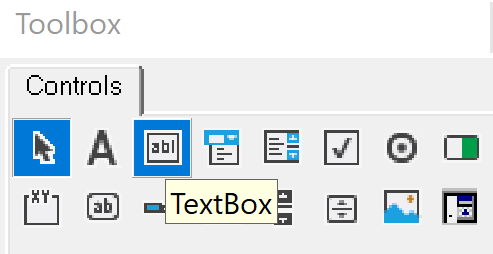
Adding Input Fields with TextBox Controls
Now we'll add the data entry fields. TextBox controls handle all types of input—text, numbers, and dates. Select the TextBox control from the Toolbox (the "ab" icon):
Using the same drawing technique as with labels, create three TextBoxes aligned with your labels:
Implementing Strategic Naming Conventions
Effective VBA programming relies on meaningful control names. When you select the Name TextBox, you'll see its properties:
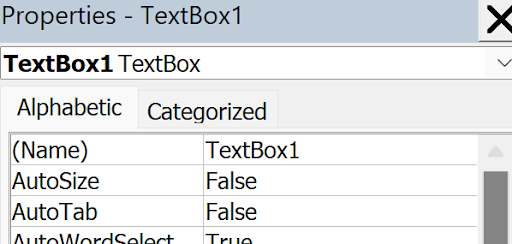
The default name "TextBox1" isn't descriptive for code maintenance. Click "(Name)" and enter "TbName" for clarity:

Apply this same naming strategy to your other TextBoxes—rename them "TbCo" and "TbDate" respectively. This convention makes your code more readable and maintainable for future development work.
Creating Functional Command Buttons
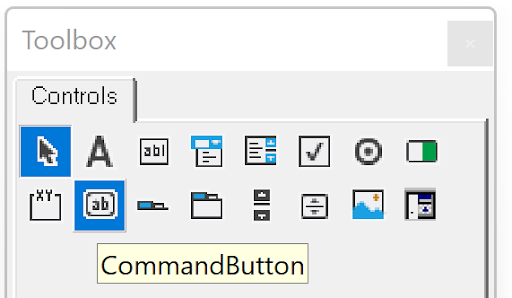
Every professional form needs clear action buttons. Select the CommandButton control (the "ab|" icon) from the Toolbox:
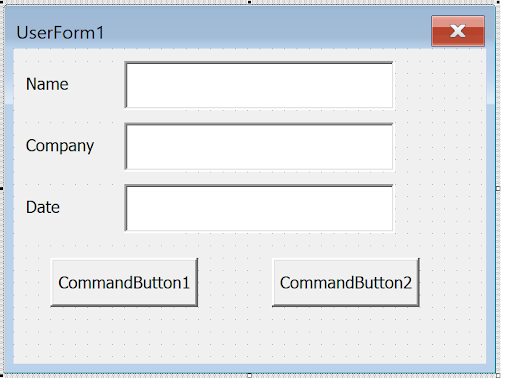
Create two command buttons at the bottom of your form:
Pro Tip: For consistent button sizing, simply click once on the form with a control selected rather than drawing—this creates a default-sized control that's typically well-proportioned for buttons.
Configuring Button Properties for User Experience
Select the left button and customize it for primary action. Set its Caption to "OK" and change the "Default" property to "True". You can double-click "Default" or use the dropdown arrow to toggle between True and False:
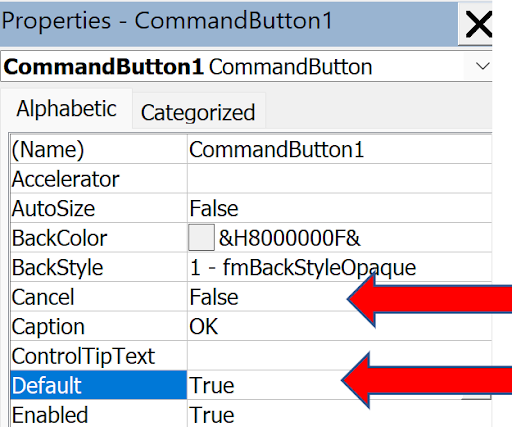
Setting Default to True creates a better user experience—users can press Enter instead of clicking the button, streamlining data entry workflows.
Configure the right button as the Cancel action. Set its Caption to "Cancel" and the "Cancel" property to "True":
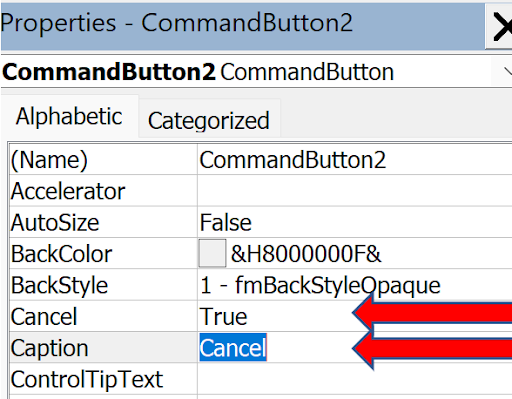
This configuration allows users to press Escape to cancel the operation—a standard interface convention that enhances usability.
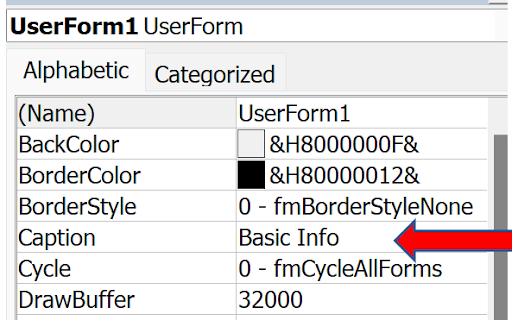
Customizing the Form Title
Professional forms need descriptive titles. Click on an empty area of the UserForm (avoiding any controls) to select the form itself, then change the Caption property from "UserForm1" to "Basic Info":
Your completed form design should now look polished and professional:
Testing Your Form Design
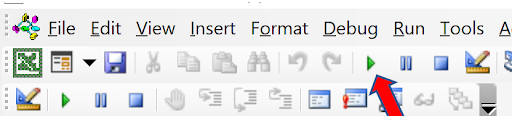
Before writing code, test your form's appearance and basic functionality. Press F5 or click the right-facing arrow in the toolbar to run the form:
The form will display over Excel (not the VBA Editor), allowing you to test the user experience. Try filling in the fields to ensure everything works as expected:

To exit the test mode, click the "X" in the upper-right corner of the form.
Programming Button Functionality
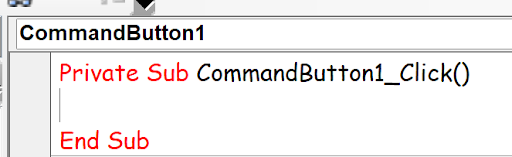
Currently, your buttons don't perform any actions. Let's start with the simpler Cancel button functionality. Double-click the Cancel button to access its code editor:
Excel automatically creates the event handler structure. Any code between these lines executes when the Cancel button is clicked. For a simple close action, add Unload Me:

The "Me" keyword refers to the current form object. While "Unload UserForm1" would work, "Me" is more flexible and maintainable when managing multiple forms in larger applications.
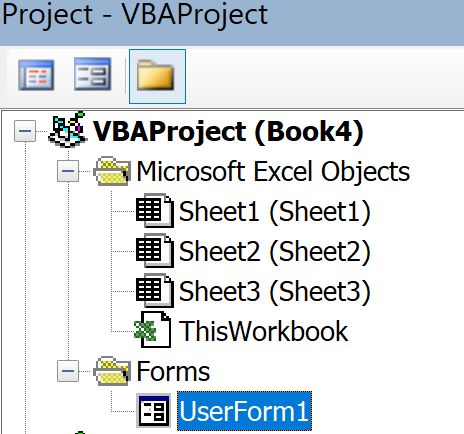
To return to the form design view from the code editor, double-click "UserForm1" in the VBAProject window:
Implementing OK Button Data Processing
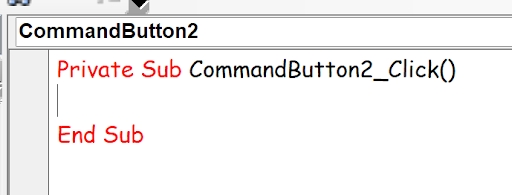
The OK button requires more sophisticated code to capture and store the form data. For this example, we'll place the information in cells A1, B1, and C1. Double-click the OK button to access its event handler:
Enter this code to transfer form data to the worksheet (Excel provides the first and last lines automatically):
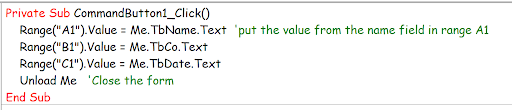
This code demonstrates several VBA best practices: clear comments (lines beginning with apostrophes), descriptive variable references using your custom TextBox names, and proper form cleanup with "Unload Me" at the end.
Creating a Module for Form Display
To integrate your UserForm with Excel, you'll need to create a module containing the code that displays the form. Navigate to Insert > Module:

Excel will create a new module in your project:

Create a simple subroutine with a descriptive name like "ShowForm". This procedure will serve as the entry point for displaying your UserForm:
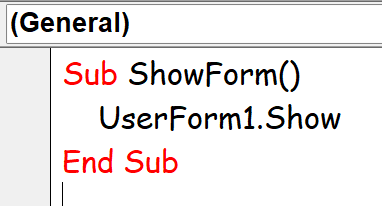
That's the complete VBA implementation—remarkably simple yet powerful for launching your custom interface.
Integrating with Excel Through Shape Controls
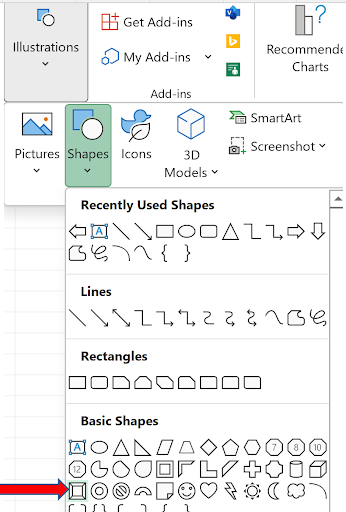
Now let's create a professional trigger for your form directly in Excel. Navigate to the Insert tab, then Illustrations > Shapes. We'll use a Bevel shape for a modern, professional appearance:
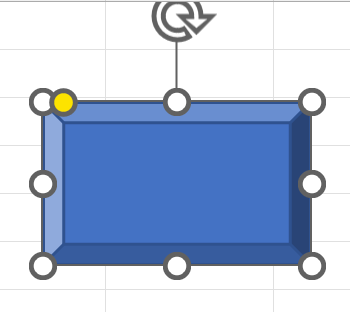
Draw the shape in your worksheet where users can easily access it:
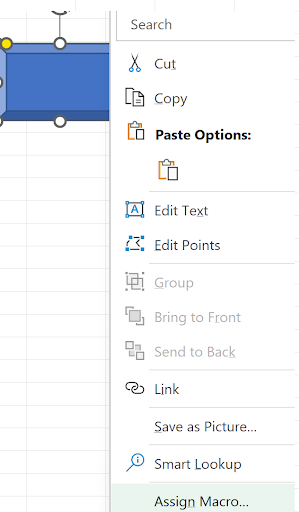
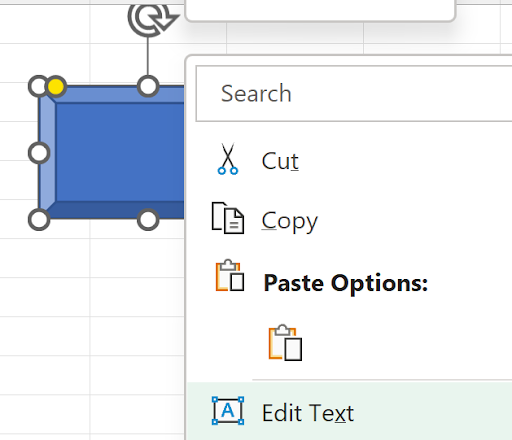
Right-click the shape and select "Assign Macro" to connect it with your VBA code:
Excel will display the Assign Macro dialog showing all available procedures:
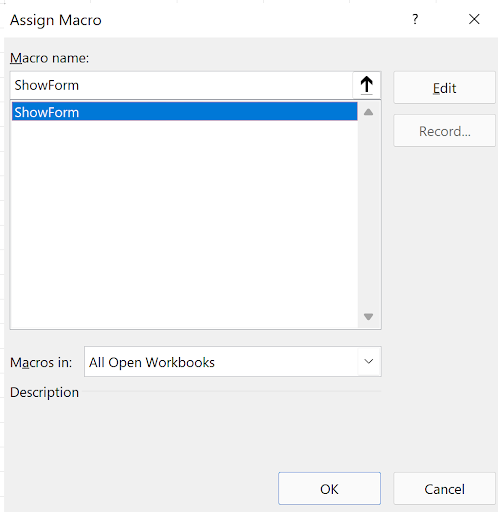
Select "ShowForm" and click OK to complete the connection.
Testing the Complete Solution
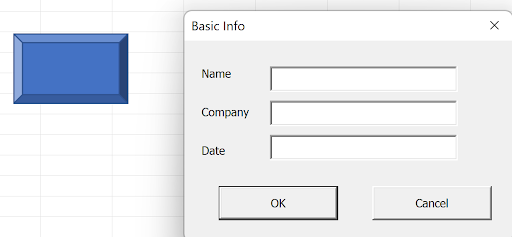
Your UserForm system is now ready for production use. Click your shape button to launch the form:
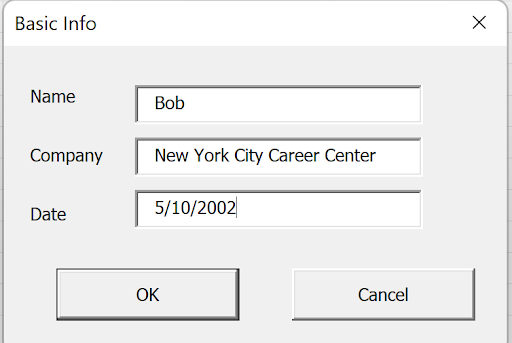
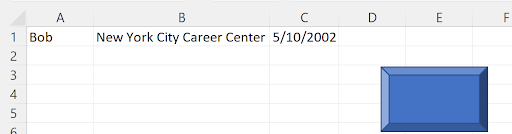
Fill out the form with your data and click OK to process the information:
After widening the columns to display the data properly, you'll see the successful data transfer:
Professional Enhancement: Adding Button Text
For a polished user interface, add descriptive text to your button. Right-click the shape and select "Edit Text":
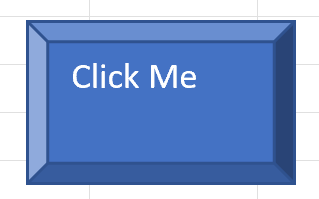
Your UserForm implementation is now complete and ready for professional deployment. This foundation can be extended with additional validation, formatting, and data processing capabilities as your business requirements evolve.