Topics Covered in This Cinema 4D Tutorial:
Editing Textures, Importing a 3D Model, Locating Missing Texture Files, Creating a Shadow Pass
Exercise Preview
Exercise Overview
In this comprehensive exercise, you'll master the essential skill of applying and manipulating textures within your Cinema 4D objects. This foundational technique forms the backbone of professional 3D visualization, transforming basic geometry into photorealistic assets that integrate seamlessly with your motion graphics workflow.
Tutorial Progression
Material Creation
Build reflective plastic textures with custom Beckman shaders
Model Import
Integrate 3D dice models and position them in the scene
Shadow Implementation
Create realistic shadows using multi-pass rendering
Previewing the Final Video
Begin by examining the target result for this exercise. If you're currently working in After Effects, keep the application open but switch to your Desktop to access the preview files.
On the Desktop, navigate to Class Files > C4D in AE Class > AE Text to C4D > Preview Movie and double–click Hard Candy Animation.mp4.
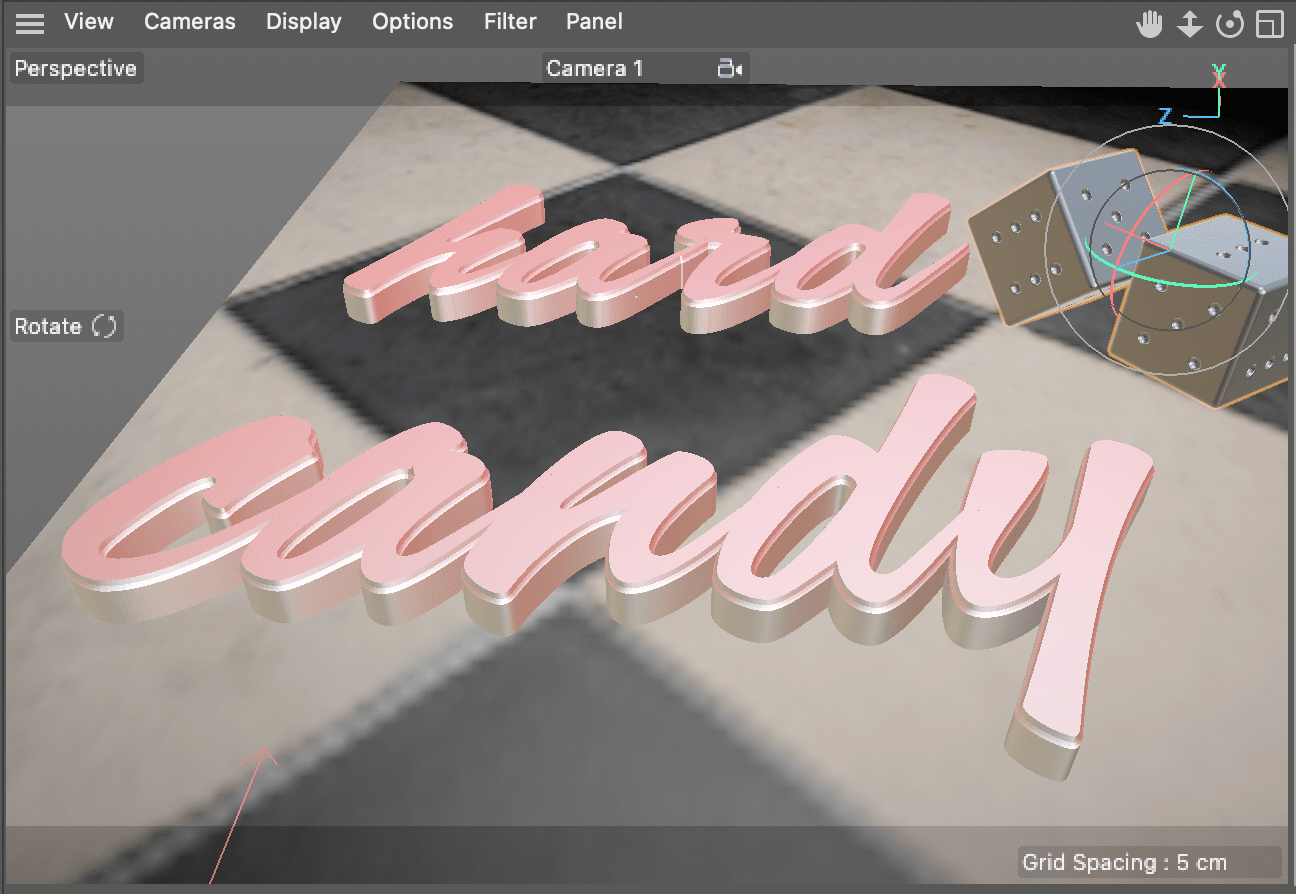
Pay particular attention to the following visual elements:
- The text displays a sophisticated, shiny metallic texture with realistic reflectance properties.
- The 3D models cast convincing shadows on the ground plane, adding depth and realism to the composition.
Study the video carefully, replaying as needed to understand the quality standards you'll achieve. Close the preview when you're ready to proceed.
Getting Started
Pre-Flight Checklist
Ensures you start with the correct base project setup
Maintains proper file organization and prevents overwrites
Confirms proper integration between applications
If You Did Not Do the Previous Exercises
If a project is currently open in After Effects, go to File > Save, then File > Close Project to ensure a clean workspace.
- Go to File > Open Project and navigate to Desktop > Class Files > C4D in AE Class > AE to C4D > Finished Projects.
- Double–click on Hard Candy—Editing Textures.aep to load the starting point for this exercise.
Go to File > Save As > Save As. Name the file Your Name—Hard Candy.aep and save it to Desktop > Class Files > C4D in AE Class > AE to C4D (replacing the file if it already exists in that location).
Importing and Positioning Dice Models
Merge Project File
Use File > Merge Project to import D6-Production.c4d containing the dice models
Group and Control
Select both dice objects, group with Alt-G, rename to Dice Controller for unified transforms
Position in Scene
Use Move tool in Top viewport to position dice next to Hard text, align with floor plane
Create Composition
Use Rotate tool to angle dice for visually interesting arrangement in Perspective view
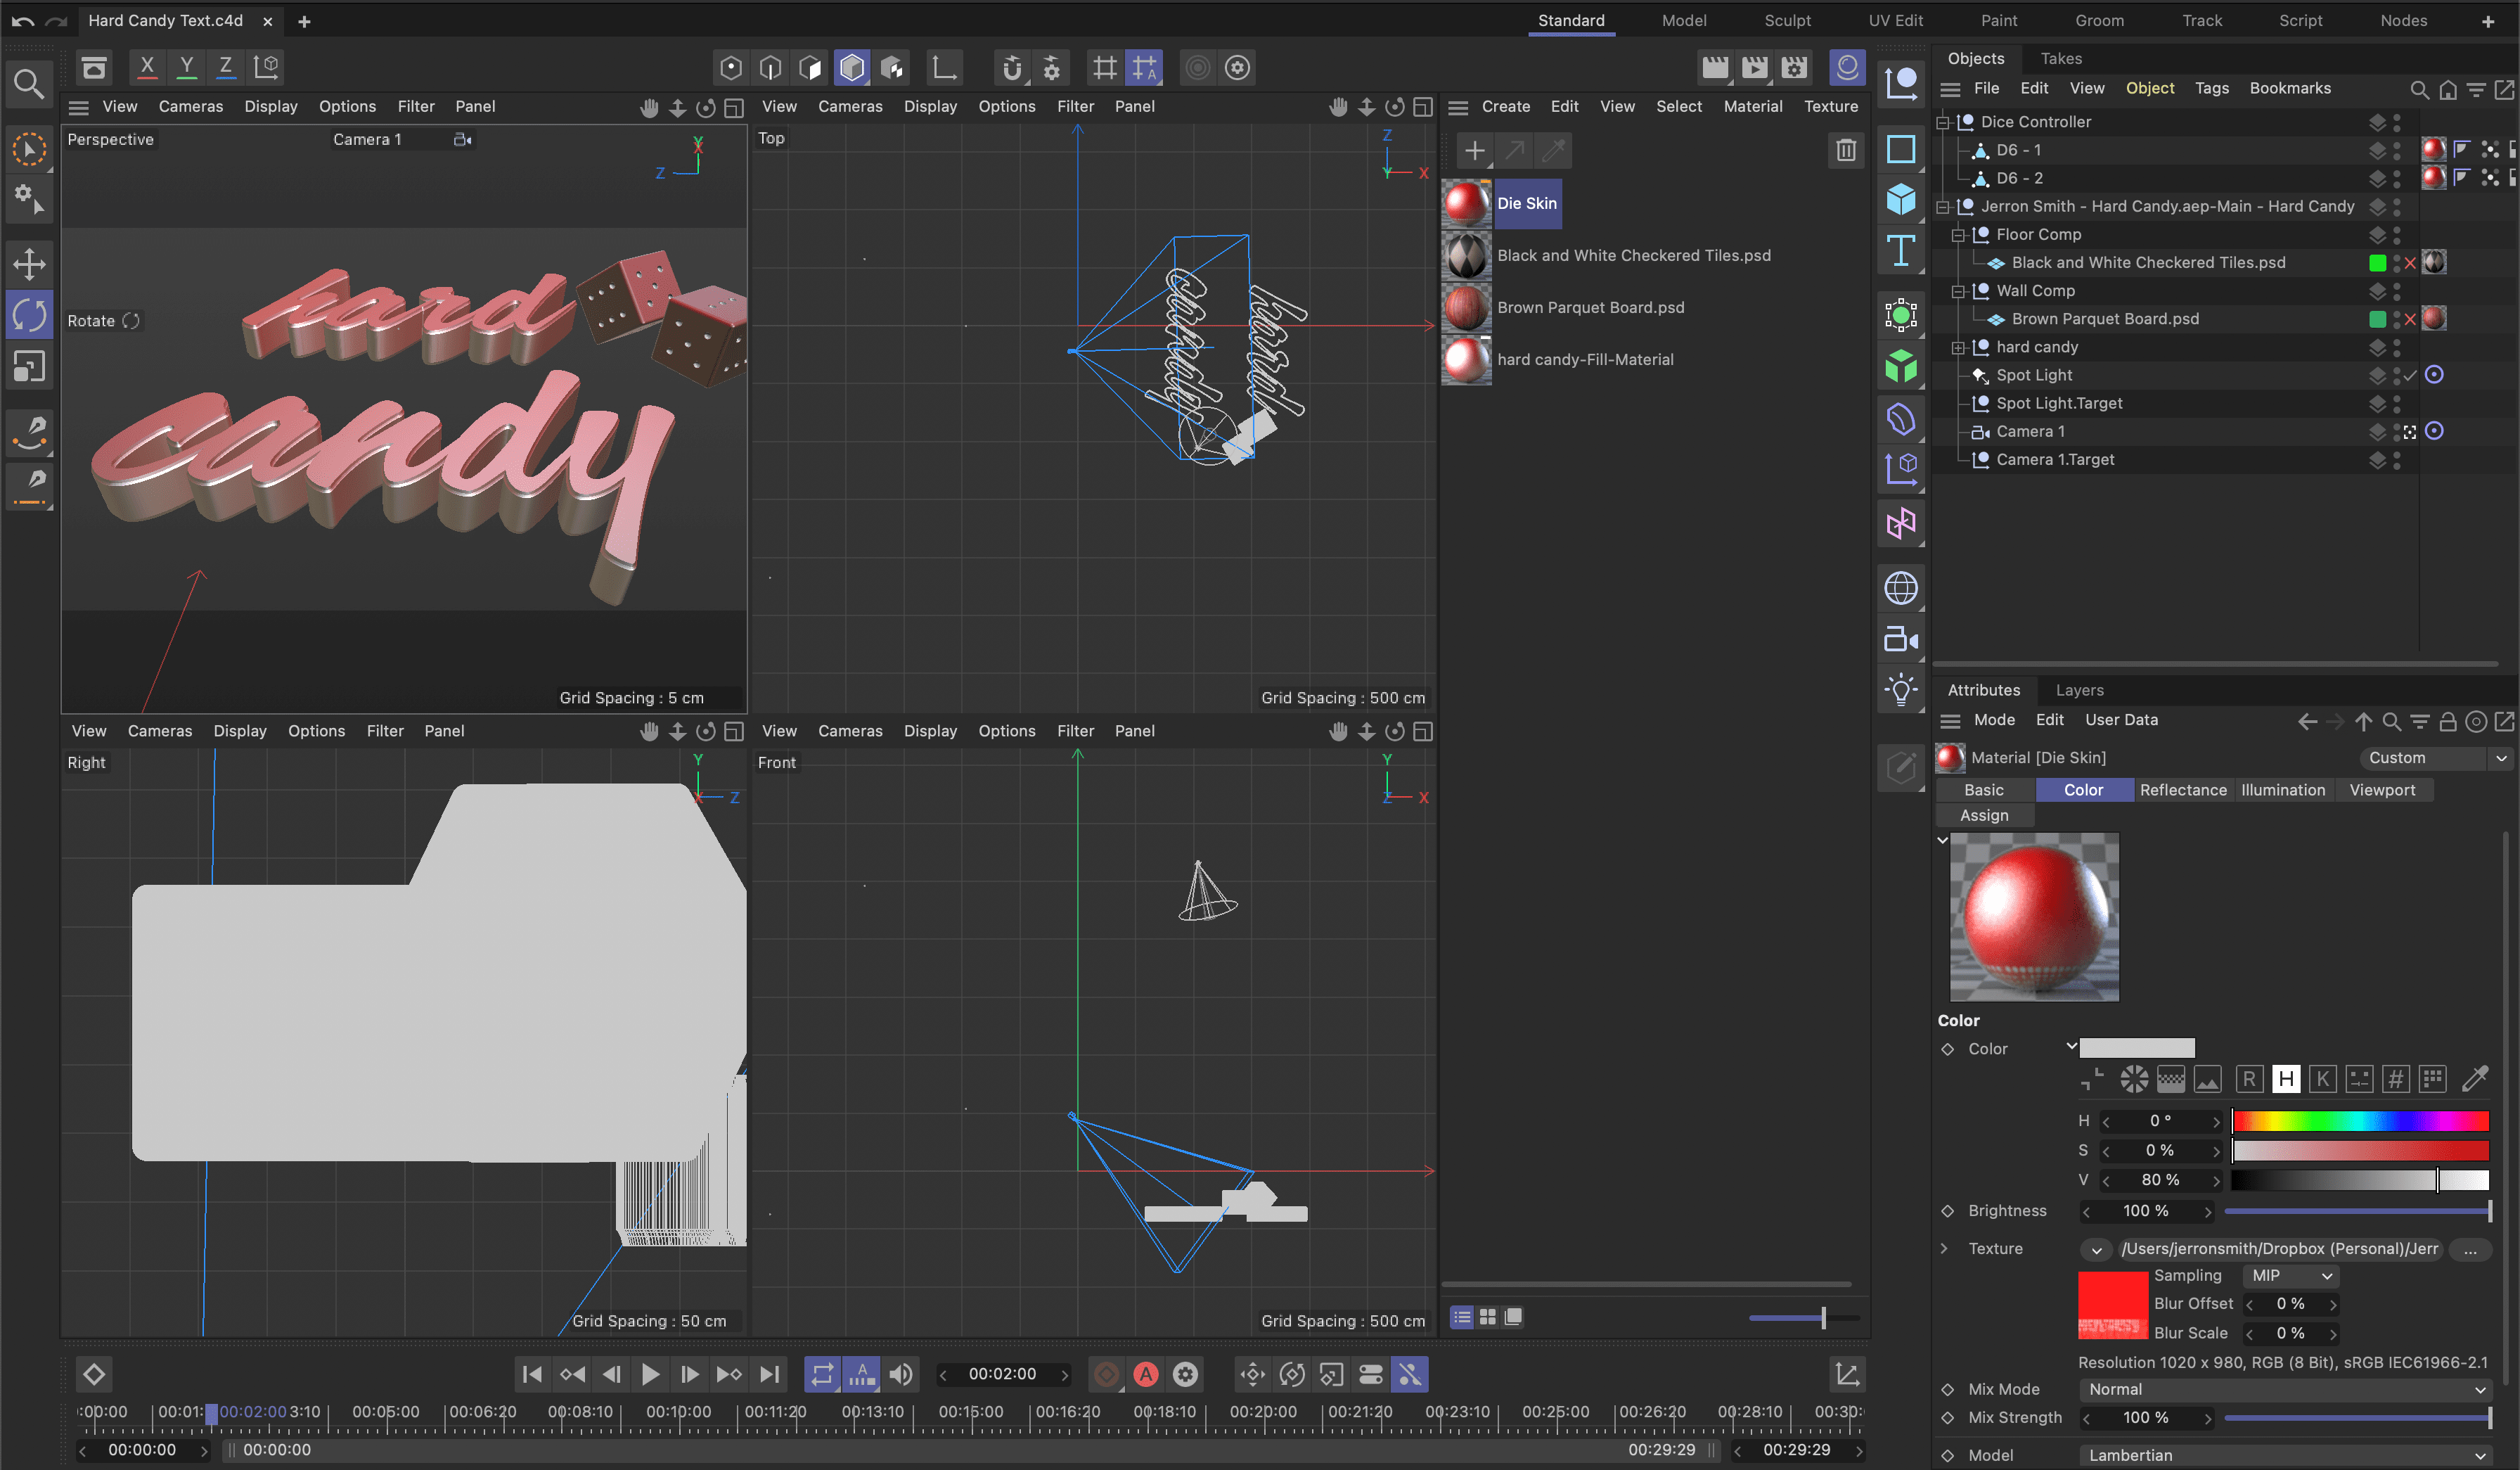
Editing a Texture in C4D
The appearance, colors, and surface properties of 3D layers are automatically converted to Cinema 4D materials during the export process. However, the real power lies in customizing these materials within Cinema 4D's Material Editor to achieve specific visual goals. In this section, we'll transform a basic material into a sophisticated plastic surface with professional-grade reflectance properties that would be at home in any high-end commercial production.
With the Your Name—Hard Candy.aep project open in After Effects, return to the Hard Candy Text.c4d file in Cinema 4D to begin material editing.
Note: If you closed C4D or started from the intermediary project above, you can highlight the .c4d layer in After Effects and press Cmd–E (Mac) or CTRL–E (Windows), or choose Edit > Edit Original to launch Cinema 4D directly.
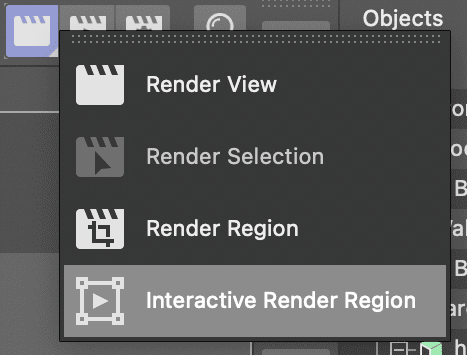
Long press on the Render View button and choose Interactive Render Region to enable real-time preview of your material changes.
Click on the Material Manager
 button or press Shift–f2 to access the materials palette.
The scene contains a default texture applied during file creation. We'll systematically rebuild this material to create a convincing reflective plastic surface that responds naturally to lighting conditions.
Double–click on the hard candy-Fill-Material to open the comprehensive Material Editor interface.
Click on the Reflectance channel from the property list on the left to access reflection controls.
Click the Remove button in the top right corner of the editor to eliminate the default shader.
The material includes a basic specular shader by default. We'll remove this foundation element to build a custom reflectance system from the ground up, ensuring precise control over every aspect of the surface appearance.
Click Add and choose Beckman from the shader list to implement a physically accurate reflection model.
NOTE: This change will immediately make text outside the render region appear chrome-like, while text within the preview area may become nearly invisible until further adjustments are made.
If necessary, click the arrow next to the Layer Fresnel group to reveal its parameters, then configure the following critical settings:
- Fresnel: Dielectric (simulates non-metallic materials like plastic)
- IOR: Set between 6 and 7 (we recommend 6.85 for optimal results)
In the Layer 1 group, fine-tune these essential properties for realistic plastic appearance:
- Attenuation: Additive (controls how reflections blend)
- Roughness: Between 50 and 70 (we used 66 for subtle surface imperfections)
- Reflection Strength: Approximately 90 (governs reflection intensity)
- Specular Strength: Around 60 (balances highlight brightness)
Close the Material Editor to return to the main interface, preserving your carefully crafted material settings.
Click on the Material Manager
button or press Shift–f2 to toggle the materials panel closed.Click the Interactive Render Region button to disable real-time preview and optimize system performance.
Press Cmd–S (Mac) or CTRL–S (Windows) or choose File > Save Project to preserve your material work.
Return to After Effects to evaluate the integration of your Cinema 4D materials within the motion graphics context.
In the Effect Controls panel, change the Renderer setting in the Cineware effect to Current for optimal preview quality.
Preview the enhanced animation by pressing Spacebar to evaluate your material work in motion.
Your composition now features professional 3D text with sophisticated reflective plastic texturing that responds convincingly to the scene's lighting environment.
Press Cmd–S (Mac) or CTRL–S (Windows) or choose File > Save to preserve your After Effects project progress.
Creating Reflective Plastic Material
Remove Default Specular
Access Material Editor, select Reflectance channel, and remove existing specular shader to start fresh
Add Beckman Shader
Click Add and choose Beckman from the list to create professional reflective surface
Configure Fresnel Settings
Set Fresnel to Dielectric with IOR between 6-7 for realistic plastic appearance
Adjust Layer Properties
Set Attenuation to Additive, Roughness 50-70, Reflection Strength 90, Specular Strength 60
Navigating the Viewports in C4D
Professional Cinema 4D workflow demands efficient viewport navigation. The application offers multiple viewport configurations, each optimized for different aspects of 3D production. Master these essential camera controls located at the top right of each viewport for maximum efficiency.
 Move Camera: Drag this control to translate the viewport camera vertically and horizontally through 3D space.
 Scale Camera: Drag to dolly the viewport camera forward and backward, adjusting your proximity to scene elements.
 Orbit Camera: Drag to rotate the viewport camera around the scene's center point, essential for comprehensive object inspection.
 Toggle Active View: Switch instantly between single-viewport focus and multi-viewport layouts for different workflow phases.
Essential Viewport Controls
Move Camera
Drag to move viewport camera up and down for better scene positioning and framing.
Scale Camera
Drag to move camera in and out, controlling zoom level for detailed work or overview.
Orbit Camera
Drag to rotate camera around scene, essential for examining models from all angles.
Importing a 3D Model
One of Cinema 4D Lite's most powerful capabilities is serving as a universal 3D asset integration platform for After Effects workflows. This functionality enables seamless collaboration with 3D artists using industry-standard applications like Maya, Blender, 3ds Max, or full Cinema 4D, while maintaining complete creative control within your familiar After Effects environment. This workflow has become essential in modern motion graphics production, where 3D assets often originate from specialized modeling teams.
Cinema 4D Lite serves as a universal platform for importing 3D models from virtually any application including Blender, Maya, 3DS Max, enabling seamless collaboration workflows.
If You Did Not Do the Previous Exercises
If a project is currently open in After Effects, go to File > Save, then File > Close Project to start fresh.
Go to File > Open Project and navigate to Desktop > Class Files > C4D in AE Class > AE Text to C4D > Finished Projects.
Double–click on Hard Candy—Importing 3D Models.aep to load the appropriate starting point.
Go to File > Save As > Save As. Name the file Your Name—Hard Candy.aep and save it to Desktop > Class Files > C4D in AE Class > AE to C4D (replacing any existing file).
In After Effects, select the Hard Candy Text.c4d layer to prepare for 3D model integration.
Press Cmd–E (Mac) or CTRL–E (Windows) or choose Edit > Edit Original to launch your Cinema 4D model for editing.
In Cinema 4D Lite, advance the playhead to 02;00 to position the timeline for optimal model placement.
In the Object Manager, click the visibility toggle for the Black and White Checkered Tiles.psd Plane to reveal the floor reference object.

Choose File > Merge Project or press Cmd–Shift–O (Mac) or CTRL–Shift–O (Windows) to initiate the model import process.
In the file browser dialog, navigate to Class Files > C4D in AE Class > AE Text to C4D > Media > C4D > Dice to locate the 3D assets.
Double–click on D6-Production.c4d to merge the dice models into your scene.
NOTE: If you encounter a missing plugins alert, click OK to proceed—this won't affect the core functionality needed for this exercise.
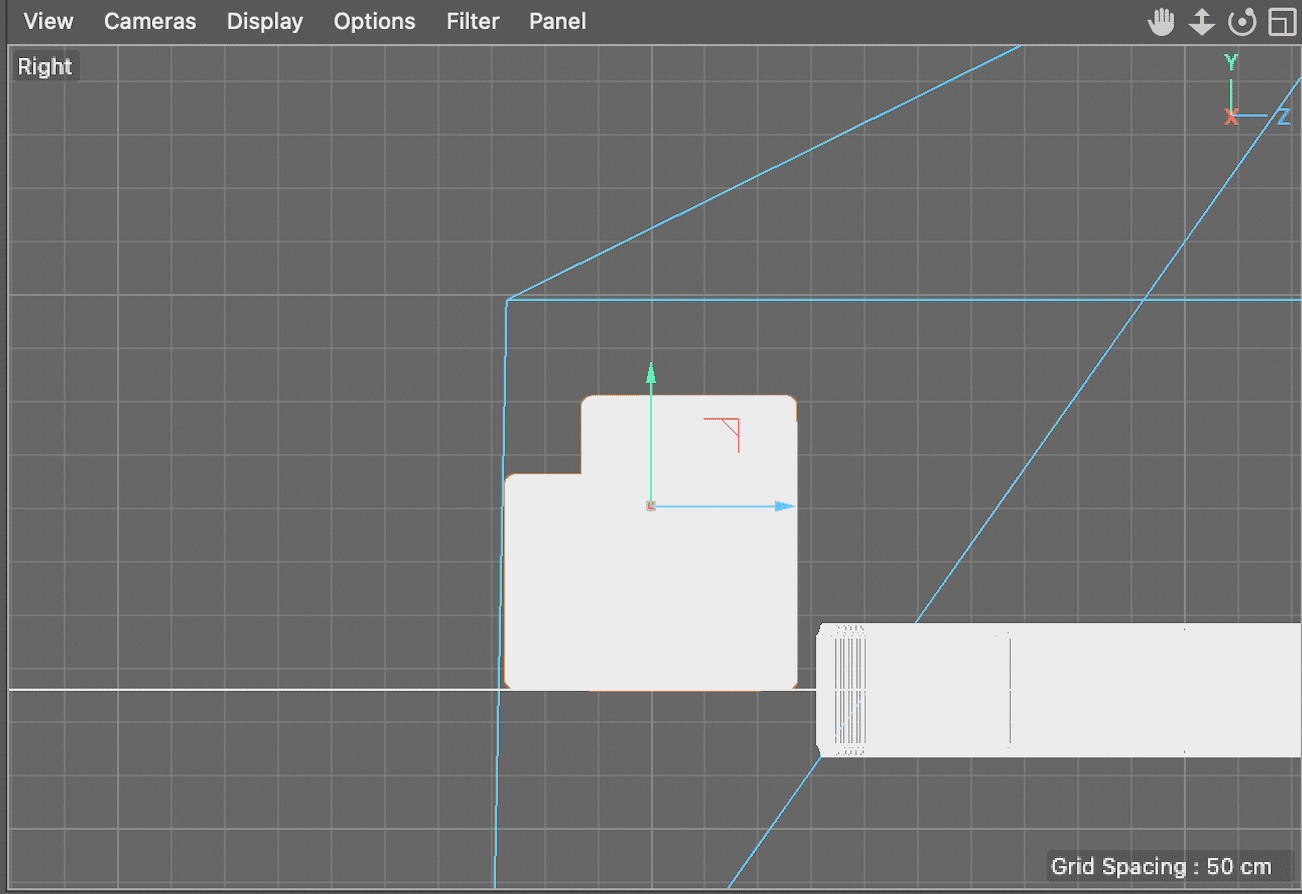
The import process adds two detailed dice models (D6—1 and D6—2) to your scene. These should appear as small objects at the edge of your Perspective viewport, initially positioned outside the main composition area.
Click the Toggle Active View
button in the top right of the Perspective panel to reveal the comprehensive four-viewport layout.Click within the Top viewport and press H to frame all scene objects within the view.
Repeat this framing operation for the remaining two orthographic viewports to establish proper spatial reference in your workspace.
In the Object Manager, click on D6—1, then hold Shift and click D6—2 to select both dice objects simultaneously.
Press Opt–G (Mac) or ALT–G (Windows) to group the selected objects under a new null object, enabling unified transformation control.
Double–click the newly created Null object and rename it Dice Controller for clear project organization.
Press Return (Mac) or Enter (Windows) to confirm the name change and maintain professional project structure.
Activate the Move
 tool from the toolbar to begin positioning operations.
NOTE: Alternatively, press E on the keyboard for rapid tool activation—a time-saving technique used by professional 3D artists.
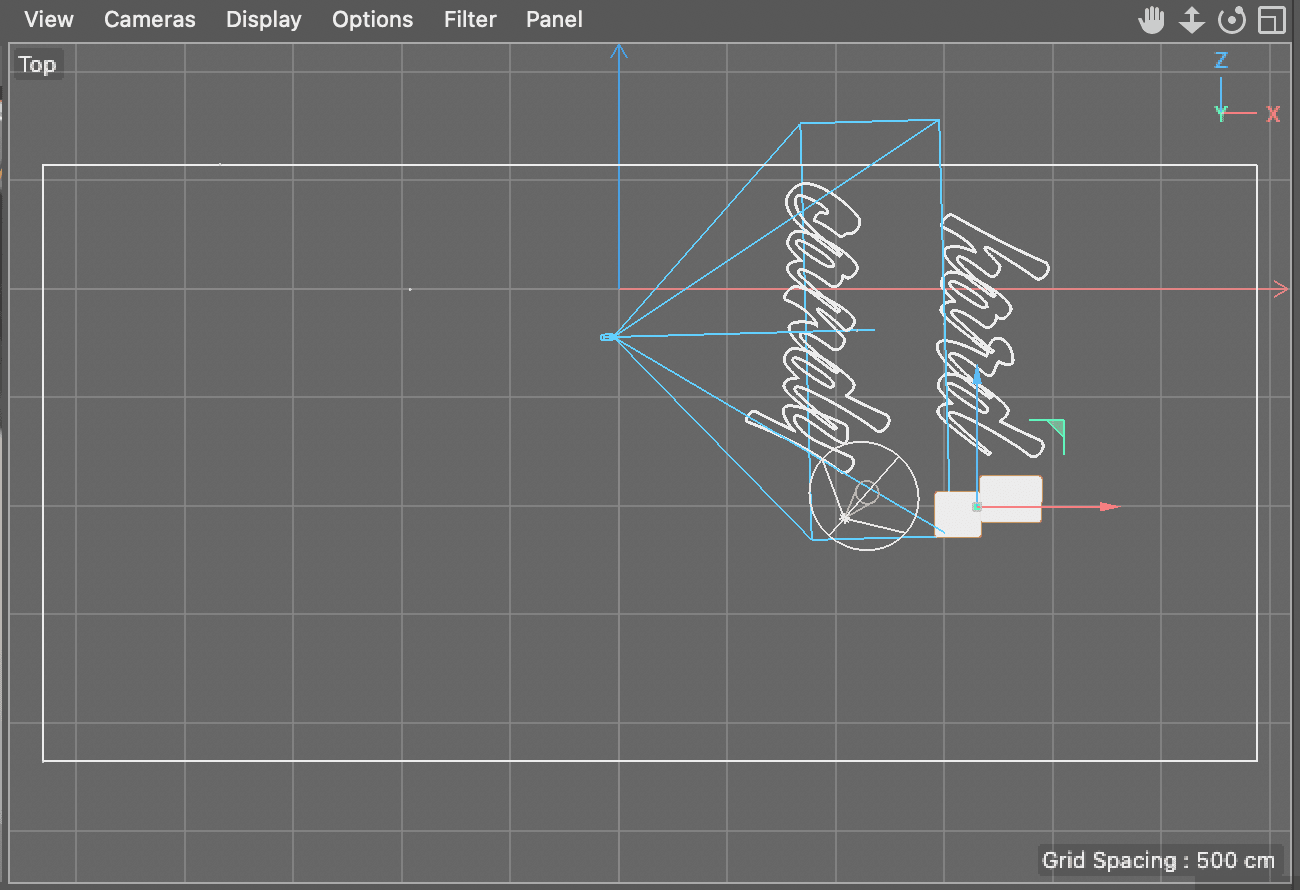
In the Top viewport, drag the Dice Controller until the dice models are positioned adjacent to the "Hard" text element for balanced composition.
Click in the Right viewport to make it active, then use the Move Camera
and Scale Camera controls to optimize your view of the dice models for precise positioning.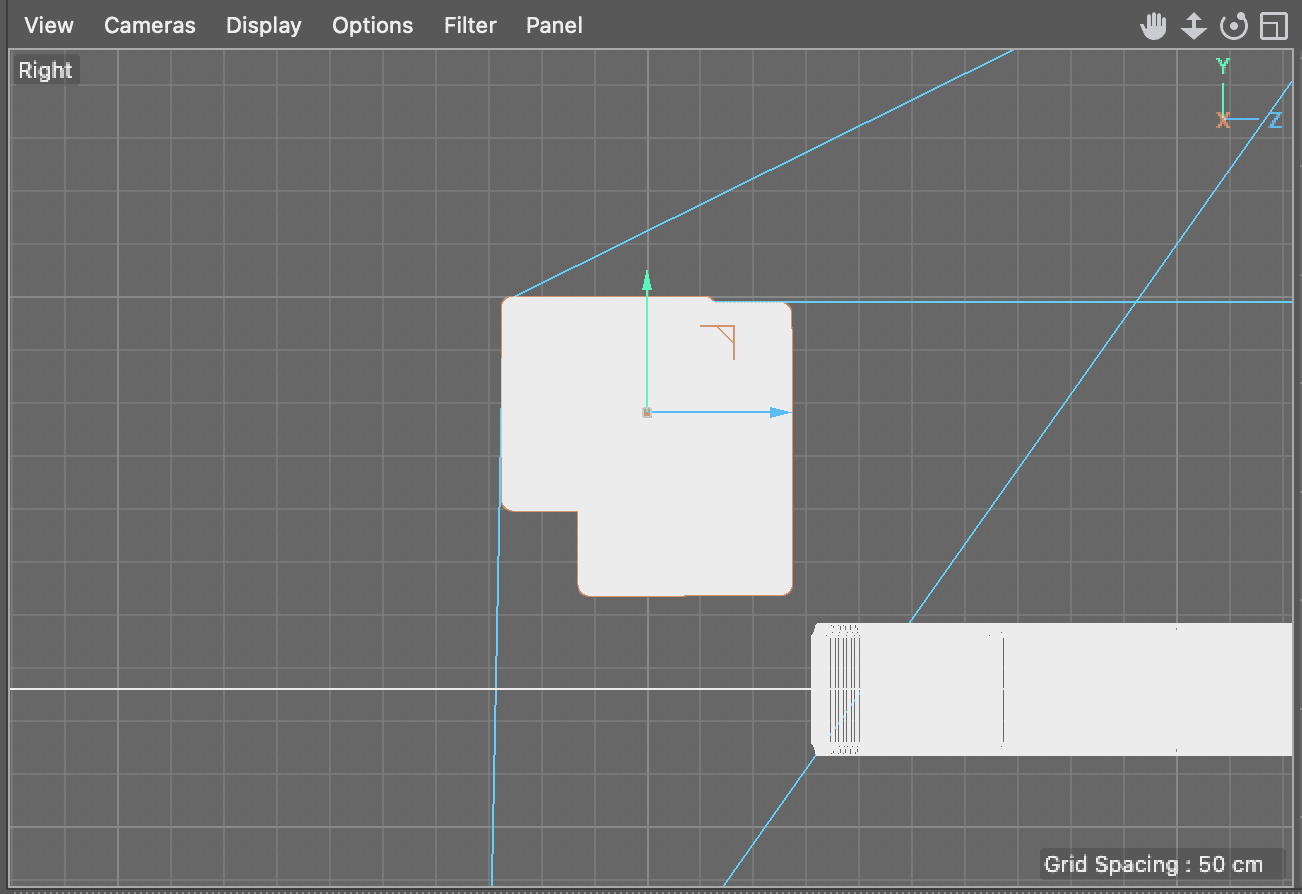
With the move tool
active, drag the Dice Controller downward until the first die aligns properly with the floor plane.In the Object Manager, click the expand arrow next to Dice Controller to reveal the individual dice objects.
Select D6—1 to enable individual object manipulation independent of the group controller.
In the Right viewport, carefully drag this model downward until it sits convincingly on the floor surface.
In the Object Manager, click back on the Dice Controller null to return to group-level control.
Activate the Rotate
 tool to begin orientation adjustments.
NOTE: Press R on the keyboard for instant rotate tool activation—another essential professional workflow shortcut.
In the Top viewport, use the inner rotation ring to rotate the null object until the dice create a visually compelling composition when viewed in the Perspective panel.
Click in the Perspective view and press Cmd–R (Mac) or CTRL–R (Windows) to render a test preview of your positioned models.
Click Cancel in the Asset Error alert dialog. This error indicates missing texture connections for the dice material—a common issue when importing models that reference external texture files.
Press Cmd–S (Mac) or CTRL–S (Windows) or choose File > Save Project to preserve your positioning work before addressing the texture issues.
Importing and Positioning Dice Models
Merge Project File
Use File > Merge Project to import D6-Production.c4d containing the dice models
Group and Control
Select both dice objects, group with Alt-G, rename to Dice Controller for unified transforms
Position in Scene
Use Move tool in Top viewport to position dice next to Hard text, align with floor plane
Create Composition
Use Rotate tool to angle dice for visually interesting arrangement in Perspective view
The C4D Asset Browser
The Asset Browser in Cinema 4D represents a centralized asset management system that has become indispensable for professional 3D production workflows. This sophisticated tool provides comprehensive organization, preview, and deployment capabilities for materials, objects, scenes, and other project elements. The Asset Browser transforms complex project management by offering intuitive categorization through custom folders, powerful keyword-based search functionality, and seamless drag-and-drop integration directly into active scenes.
For motion graphics professionals, the Asset Browser's efficiency gains are particularly valuable when working under tight deadlines. Cinema 4D Lite includes access to a curated library of professional-quality, royalty-free assets that can elevate your productions without additional licensing costs. Access this resource through Window > Asset Browser and leverage the integrated search tools, categorical tabs, and folder hierarchy to rapidly locate assets that match your creative vision.
The Asset Browser centralizes all project assets with preview capabilities, folder organization, keyword search, and drag-and-drop functionality, plus access to Cinema 4D Lite's free downloadable asset library.
Locating a Missing Texture File
When Cinema 4D materials reference external texture files, the application stores direct file path links to maintain the connection between materials and their source images. However, when project files or texture assets are relocated within the file system, these links can break, resulting in missing texture errors. This is a common challenge in collaborative workflows where assets move between different workstations or storage systems.
Open the Material Manager
 by clicking the dedicated button adjacent to the Render controls.
NOTE: You can also access the Material Manager using the keyboard shortcut Shift–f2 for rapid workflow efficiency.
Double–click on the Die Skin material to launch the comprehensive Material Editor. The interface should automatically display the color texture channel where the missing file reference is located.
Click on the Die Material.psd button next to the Texture field to access texture properties.
In the Shader Properties panel, click the … button adjacent to the File field to browse for the missing texture file.
Navigate through the file system to Media > C4D > Dice > Mats where the source texture files are stored.
Double–click Die Material.psd to reestablish the material connection to its source texture data.
Click No in the dialog asking about creating a file copy—maintain the original file location for project organization.
Close the Material Editor by clicking the Red button at the upper left (Mac) or X at the upper right (Windows).
Click in the Perspective view and press Cmd–R (Mac) or CTRL–R (Windows) to render a test preview and confirm the texture restoration.
In the Object Manager, disable the Black and White Checkered Tiles.psd plane by clicking its green visibility checkbox to hide the floor reference.
Press Cmd–S (Mac) or CTRL–S (Windows) or choose File > Save Project to preserve your texture reconnection work.
Return to After Effects to evaluate your 3D model integration within the motion graphics composition.
Preview the enhanced animation by pressing Spacebar to see your imported and textured 3D models in motion.
Press Cmd–S (Mac) or CTRL–S (Windows) or choose File > Save to preserve your After Effects project progress.
Reconnecting Broken Texture Links
Open Material Editor
Double-click Die Skin material to access texture properties and identify broken links
Access File Properties
Click Die Material.psd button, then ... button next to File field in Shader Properties
Relink Texture File
Navigate to Media > C4D > Dice > Mats folder and select Die Material.psd
Verify Connection
Render viewport to confirm texture appears correctly on dice models
Working with Shadows
While your imported 3D models now display correctly with restored textures, the overall composition may still lack the visual depth and realism that distinguishes professional motion graphics work. Strategic shadow implementation can dramatically enhance spatial relationships within your scene, creating convincing ground contact and environmental integration that elevates the production value significantly.
Shadows add crucial depth and realism to 3D scenes. The multi-pass rendering approach allows separate control over shadows, enabling fine-tuned adjustments in post-production.
If You Did Not Do the Previous Exercises
If a project is currently open in After Effects, go to File > Save, then File > Close Project to prepare for the new exercise.
Go to File > Open Project and navigate to Desktop > Class Files > C4D in AE Class > AE Text to C4D > Finished Projects.
Double–click on Hard Candy—Working with Shadows.aep to load the shadow exercise starting point.
Go to File > Save As > Save As. Name the file Your Name—Hard Candy.aep and save it to Desktop > Class Files > C4D in AE Class > AE to C4D (replacing any existing file).
In After Effects, select the Hard Candy Text.c4d layer to prepare for shadow configuration.
Press Cmd–E (Mac) or CTRL–E (Windows) or choose Edit > Edit Original to open your model in Cinema 4D Lite for shadow setup.
In the Object Manager, locate the hard candy null object that contains your primary text elements.
CTRL–click (Mac) or Right–click (Windows) on the hard candy null
 and choose Render Tags > Compositing to add advanced rendering controls.
In the Attribute Manager, click on the Object Buffer tab to access render pass settings.
Click the first Enable switch and confirm the buffer is set to 1 for proper render pass isolation.
NOTE: If the Object Buffer tab isn't visible in the Attribute Manager, click directly on the Compositing tag located to the right of the object name in the Object Manager.
Still in the Object Manager, locate the Dice Controller null object to apply similar shadow settings.
Importing and Positioning Dice Models
Merge Project File
Use File > Merge Project to import D6-Production.c4d containing the dice models
Group and Control
Select both dice objects, group with Alt-G, rename to Dice Controller for unified transforms
Position in Scene
Use Move tool in Top viewport to position dice next to Hard text, align with floor plane
Create Composition
Use Rotate tool to angle dice for visually interesting arrangement in Perspective view