Topics Covered in This Adobe Bridge Tutorial:
Advanced Output Workspace techniques, creating HTML galleries for web deployment, and building interactive Flash galleries for enhanced client presentations
Exercise Preview
Exercise Overview
Creating professional web galleries with Bridge transforms how you present and share your work with clients and collaborators. The Output panel streamlines the entire process, converting your curated image collections into polished online galleries with sophisticated navigation and metadata integration. This approach eliminates the need for third-party gallery tools while maintaining complete control over your presentation aesthetics and client experience.
Making a web gallery with Bridge is a snap and a nice way to share your work with others. The Output panel lets you assemble an online photo gallery with just a few mouse clicks.
Installing the Output Module
While the Output module was standard in earlier Bridge versions, Adobe made it a separate download starting with Bridge CC. This modular approach allows for more focused installations, though it requires an additional setup step. If you completed the previous exercise, you can skip ahead. For new installations, follow this streamlined process.
Quit Bridge completely to ensure proper installation.
Navigate to tinyurl.com/bridge-omcc
Download the module and follow Adobe's installation instructions carefully—the process varies slightly between operating systems.
Launch Bridge after installation completes. When prompted about enabling the extension, click Yes to activate all Output panel functionality.
Once installed, you'll have access to multiple gallery templates and export options that significantly expand Bridge's capabilities beyond basic file management.
The Output module was included in earlier versions of Bridge but no longer comes pre-installed with Bridge CC. You'll need to download it separately from Adobe.
Output Module Installation Process
Close Bridge
Quit Bridge completely if it's currently running to ensure proper installation
Download Module
Visit tinyurl.com/bridge-omcc to access Adobe's official download page
Install and Launch
Follow the webpage instructions for installation, then launch Bridge and enable the extension
Creating an HTML Photo Gallery
HTML galleries provide universal compatibility across all devices and browsers, making them ideal for client presentations and portfolio sharing. Let's build a foundational gallery using Bridge's streamlined workflow.
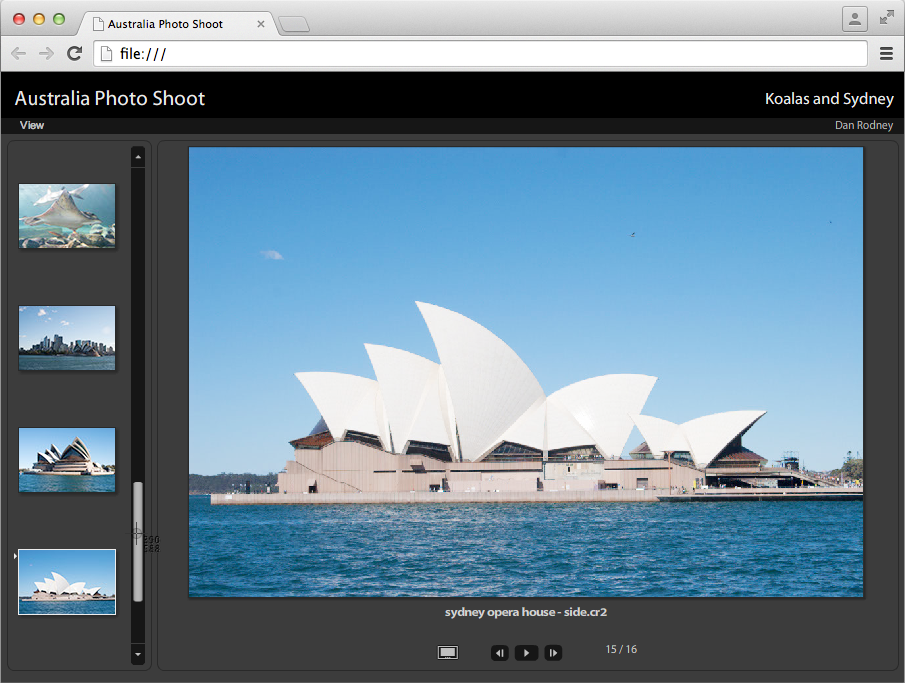
Navigate to the Bridge Files folder, then open the Australia Photo Shoot folder.
Select all images using Edit > Select All.
Switch to Window > Workspace > Output to access the gallery creation tools.
Reset your workspace via Window > Workspace > Reset Workspace to ensure optimal panel arrangement.
In the Output panel header, click the Web Gallery button to access web-specific templates.
From the Template dropdown, select HTML Gallery for maximum compatibility.
Click Preview in Browser at the top of the Output panel to generate a live preview.
In your default browser, test the thumbnail navigation by clicking through images. Notice how Bridge automatically optimizes image sizes and creates responsive navigation—impressive results for minimal effort.
While HTML galleries excel at compatibility, you might want more dynamic presentation options for high-impact client work. That's where Flash galleries demonstrate their strengths.
HTML Gallery Creation Workflow
Navigate and Select
Navigate to Bridge Files > Australia Photo Shoot folder and select all images
Configure Workspace
Switch to Output workspace and reset it for optimal gallery creation settings
Generate Gallery
Click Web Gallery button and choose HTML Gallery template for instant results
Preview Results
Use Preview in Browser to see your gallery in action with clickable thumbnails
Creating a Flash Photo Gallery
Flash galleries offer enhanced interactivity and smoother transitions, though they require Flash Player support. For clients with compatible systems, they provide a more immersive viewing experience with sophisticated navigation controls.
In the Output panel's Template menu, choose Lightroom Flash Gallery.
Set Style to Flash gallery (default) for optimal performance across different systems.
Configure the Site Info section with these professional settings:
Site Title: Australia Photo Shoot Collection Title: Koalas and Sydney Collection Description: (Delete any text and leave this blank) Contact Info: (Your Name) Email or Web Address: (Your Email) Copyright Info: All Rights Reserved PROFESSIONAL TIP: While copyright information won't display on the gallery page, Bridge embeds it directly into each image's metadata, providing legal protection and attribution tracking across all uses.
Scroll to the Appearance section and optimize these display settings for professional presentation:
Slideshow Size: 800px Gallery Image Size: 750px Thumbnail Size: 100px Quality: 70 Layout: Left Click the Preview in Browser button to test your Flash gallery configuration.
Your default browser will open the interactive gallery. Test all navigation methods: bottom controls, thumbnail clicks, and keyboard arrow keys. The arrow key functionality adds professional polish—though you may need to click a thumbnail first to establish focus for keyboard navigation.
With your gallery tested and refined, the final step involves saving and deploying your work for client access or web publication.
HTML vs Flash Gallery Features
| Feature | HTML Gallery | Flash Gallery |
|---|---|---|
| Interactivity Level | Basic clicks | Advanced navigation |
| Setup Complexity | Minimal settings | Detailed customization |
| Visual Appeal | Clean and simple | Dynamic and flashy |
| Browser Support | Universal | Flash-enabled browsers |
Flash Gallery Configuration Settings
Site Information Setup
Configure site title, collection details, and contact information for professional presentation. Include copyright metadata for image protection.
Visual Appearance Controls
Set slideshow size to 800px, gallery images to 750px, thumbnails to 100px with 70% quality for optimal performance.
Navigation Features
Enable thumbnail navigation and arrow key controls for enhanced user experience. Left layout provides optimal viewing structure.
Saving the Gallery
Proper gallery organization and naming ensures easy maintenance and professional deployment. Bridge handles the technical file structure while you focus on strategic presentation decisions.
In Bridge's Output panel, locate the Create Gallery section and change Gallery Name to Australia Photo Shoot.
IMPORTANT DISTINCTION: The Gallery Name controls your browser's title bar display, while the Site Title appears prominently on the actual gallery page. This dual naming system allows for SEO optimization and branded presentation.
Click Browse next to the Gallery Name field to select your save destination.
Navigate to your Bridge Files folder for organized file management.
Create a new folder named Australia Gallery to contain all generated files and assets.
Confirm your selection by clicking Open (Mac) or OK (Windows).
Click Save at the bottom of the Output panel and monitor Bridge's processing. When the completion dialog appears, click OK to finish. You've just created a professional-grade web gallery with sophisticated navigation, embedded metadata, and cross-platform compatibility—all through Bridge's intelligent automation.
The Gallery Name appears in the titlebar of the web browser, while the Site Title appears on the actual page content. This gives you control over both browser identification and page branding.
Gallery Publishing Process
Name Your Gallery
Set Gallery Name to control browser titlebar display for professional presentation
Choose Destination
Navigate to Bridge Files folder and create a new dedicated folder for organization
Generate Files
Click Save and let Bridge automatically create all necessary HTML, CSS, and image files
Who would have ever thought such a fancy gallery could be so easy to create?